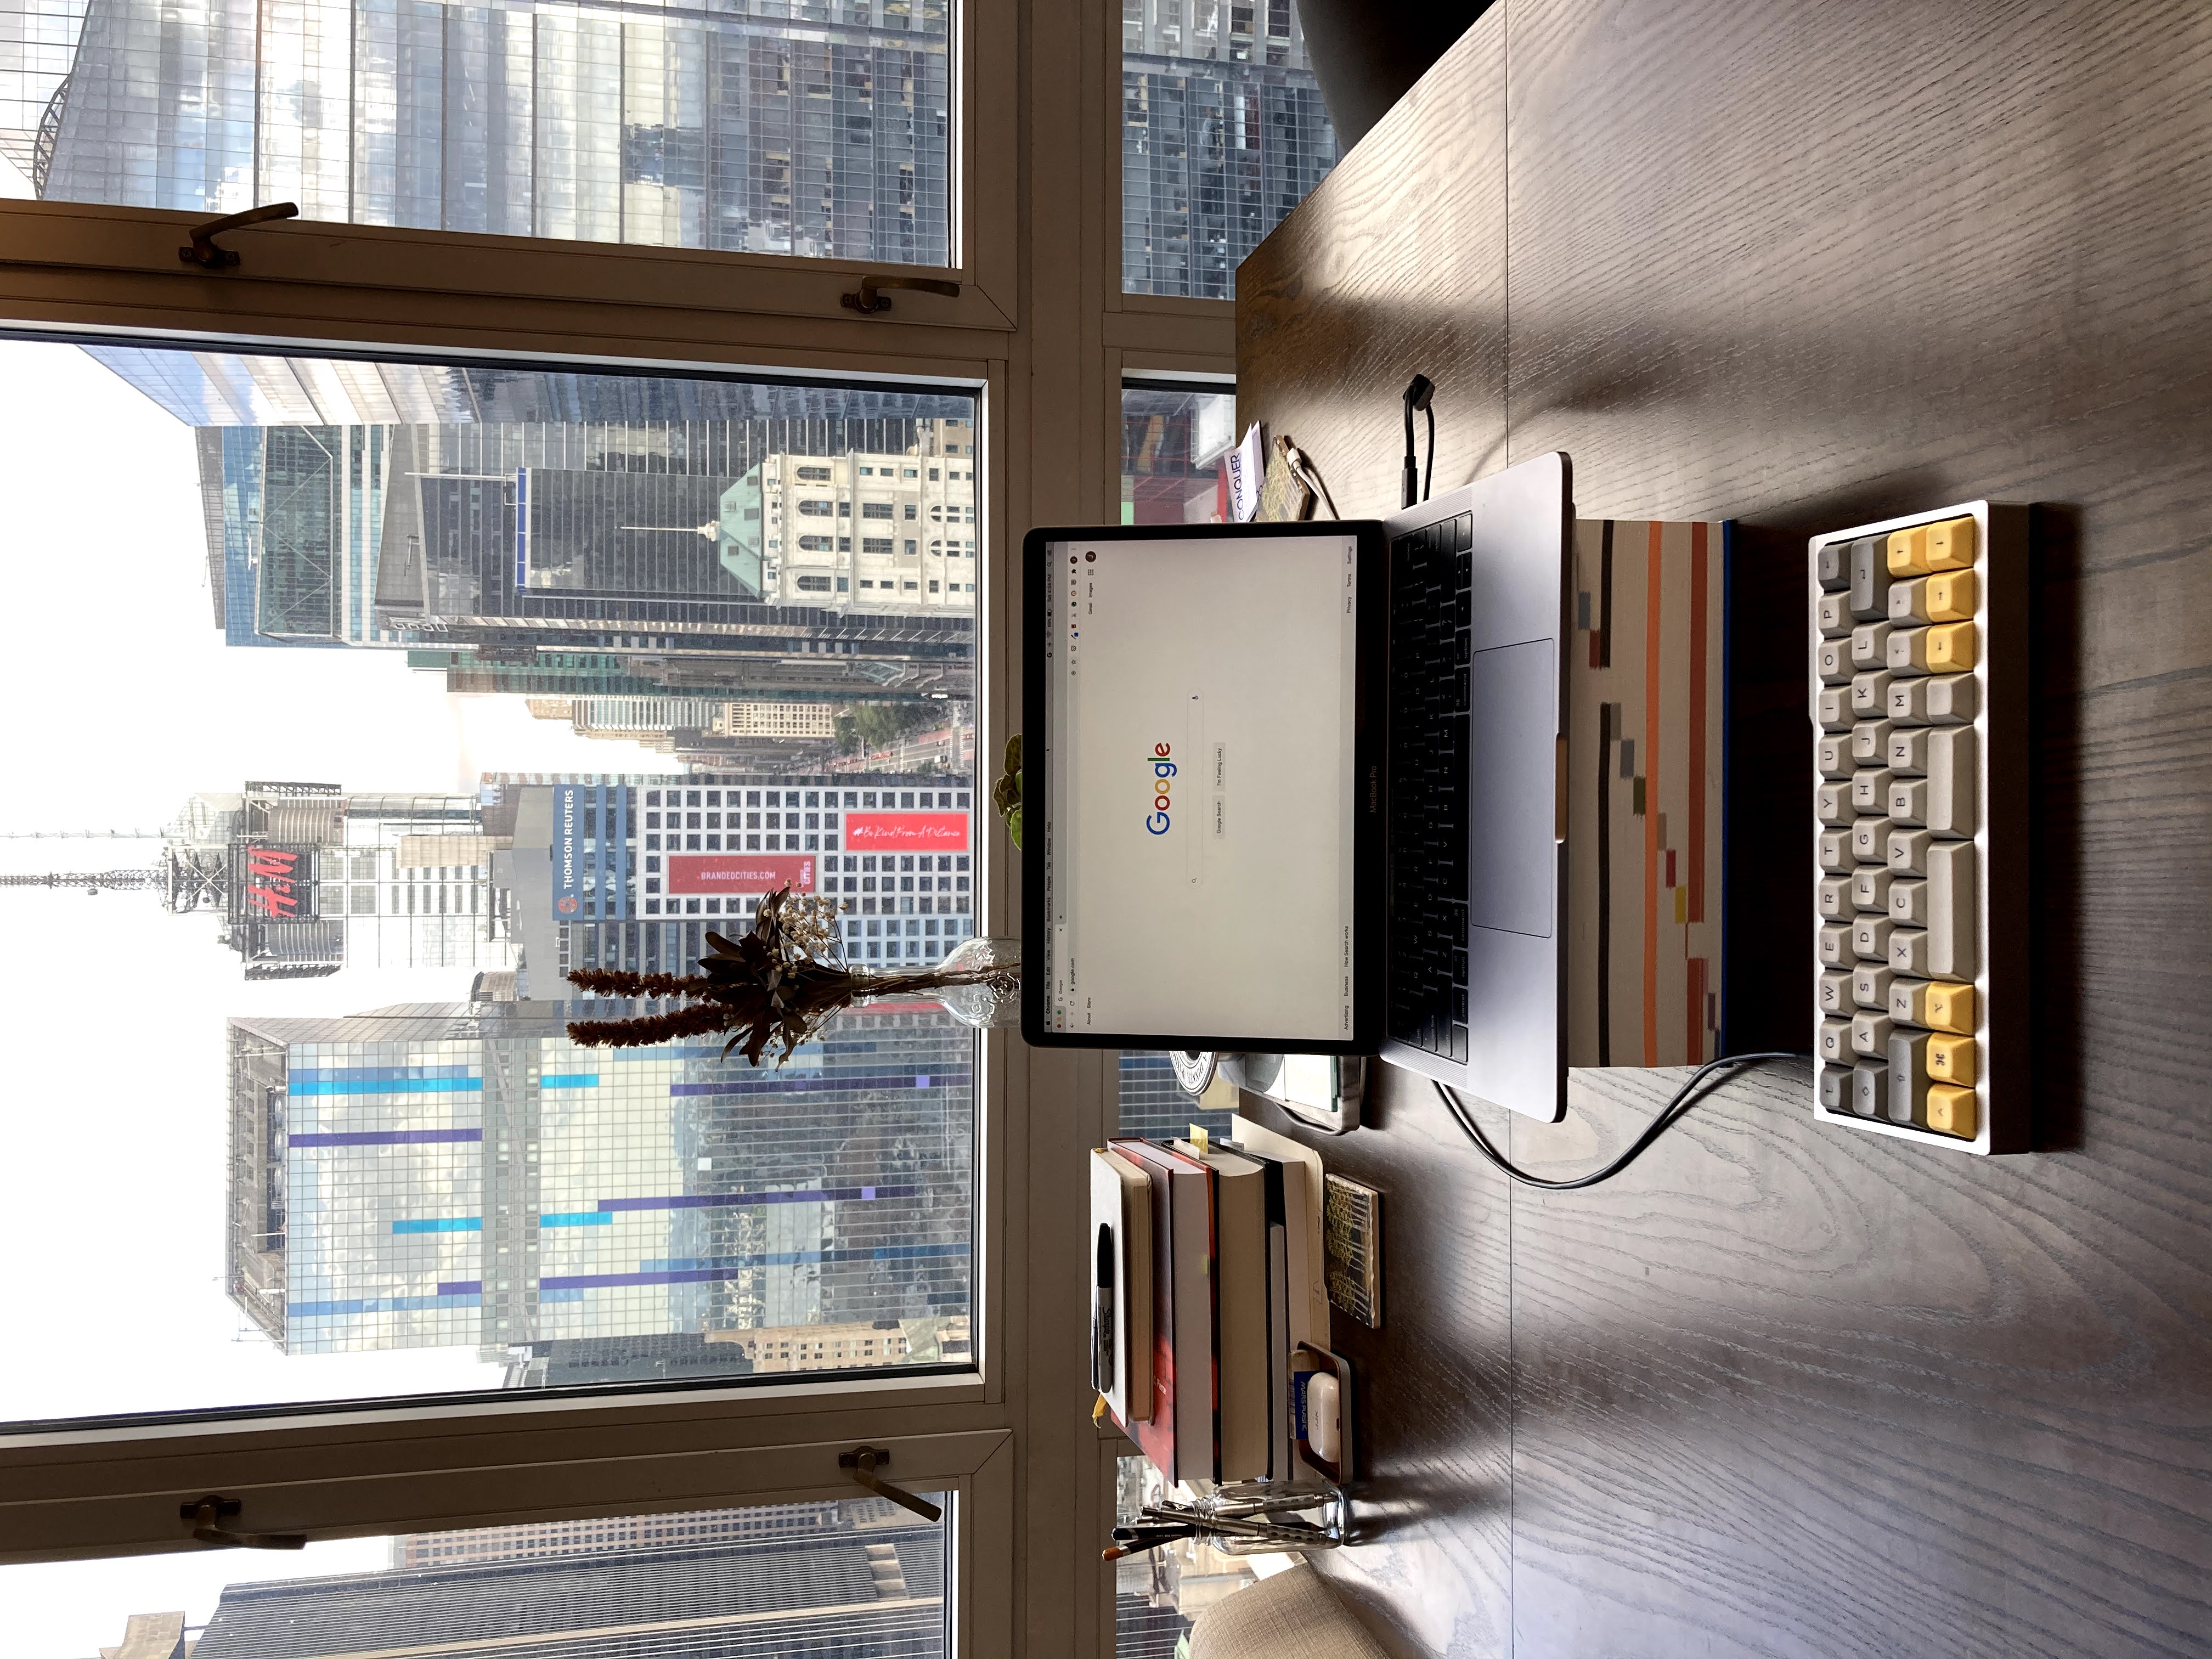
New Keyboard!
I’m typing this on a brand-new keyboard! Ariadne and I put together the Drop BM43A keyboard kit this weekend.
It’s too new to give a full review (other than “look at how little it is!”), but I wanted to put up some pictures of the build process.
The Wait
They say that building a mechanical keyboard is 99% waiting, and that was certainly the case for this one. I placed the initial order for the kit on January 17th, but we needed to wait until September 12th for everything to arrive for assembly.
The biggest delay was that the original PCB that we received was faulty (missing diodes meant that the ‘r’ and ’t’ keys didn’t work). Drop was reasonable about replacing it, but that involved shipping a new PCB from China, adding about two months to the process.
The Build
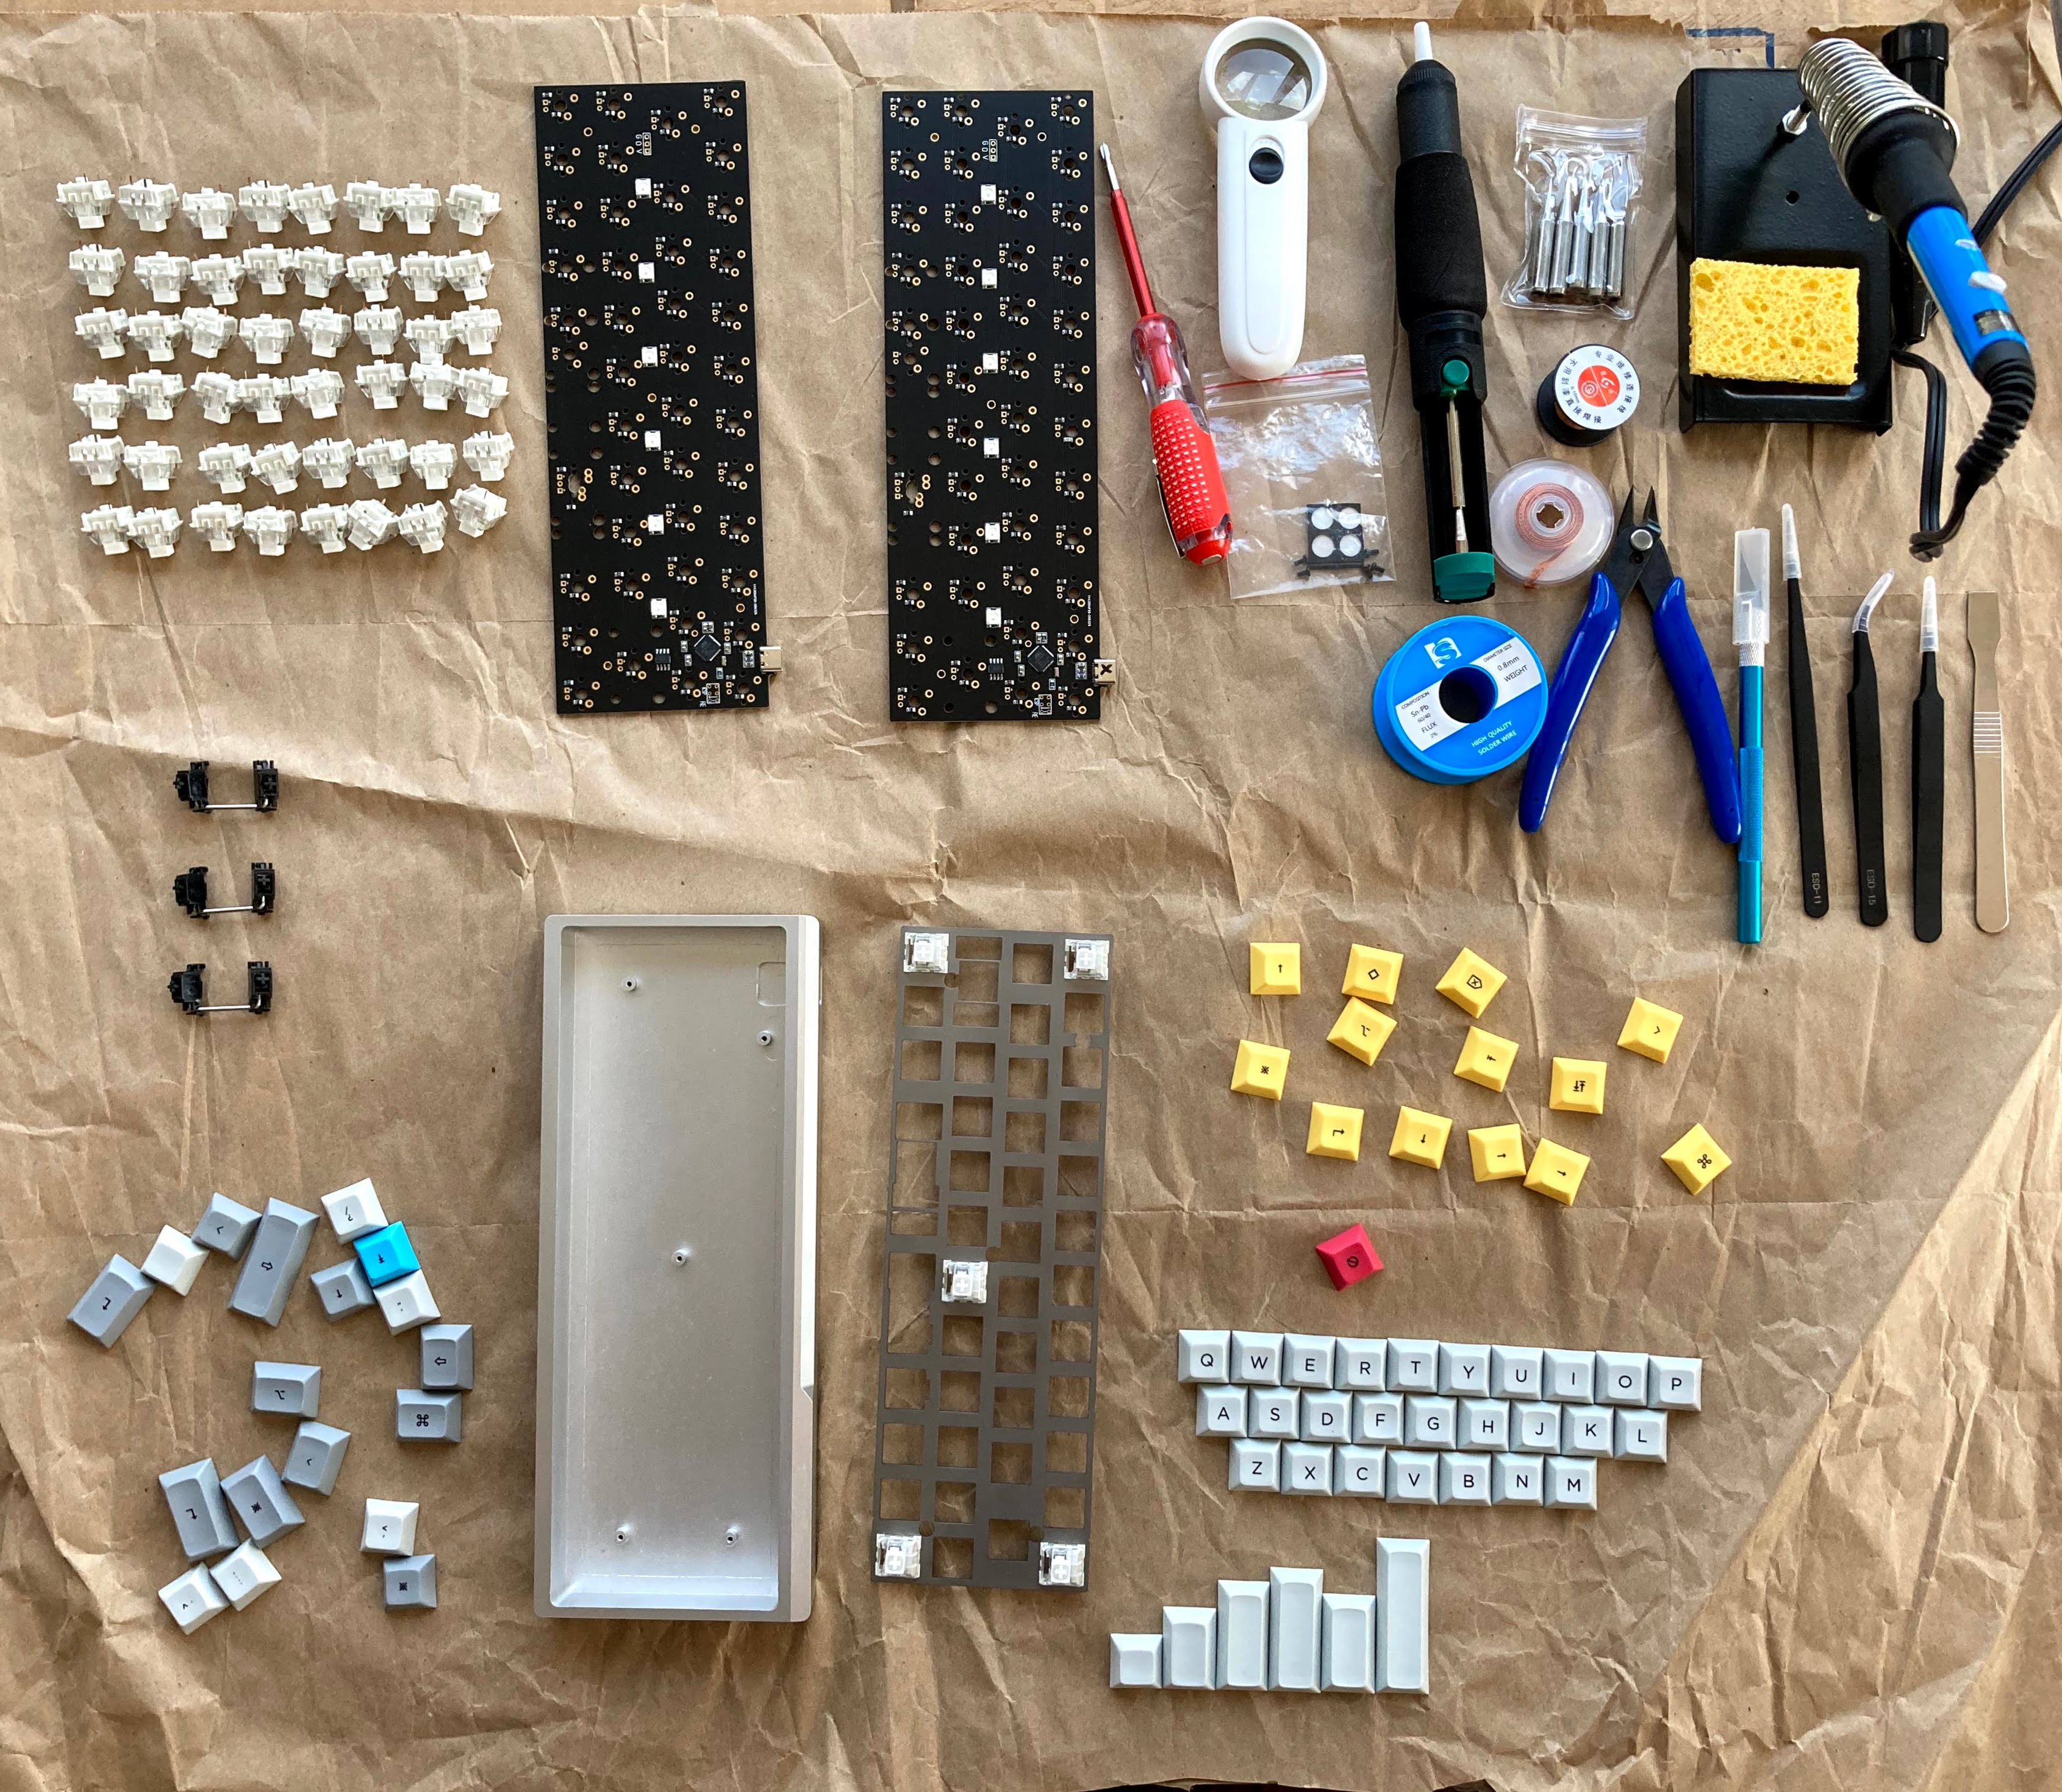
Ariadne and I aren’t experts in assembling electronics, so we’re indebted to many, many YouTube tutorials on the subject, especially the one by TaeKeyboards.
Stabilizers
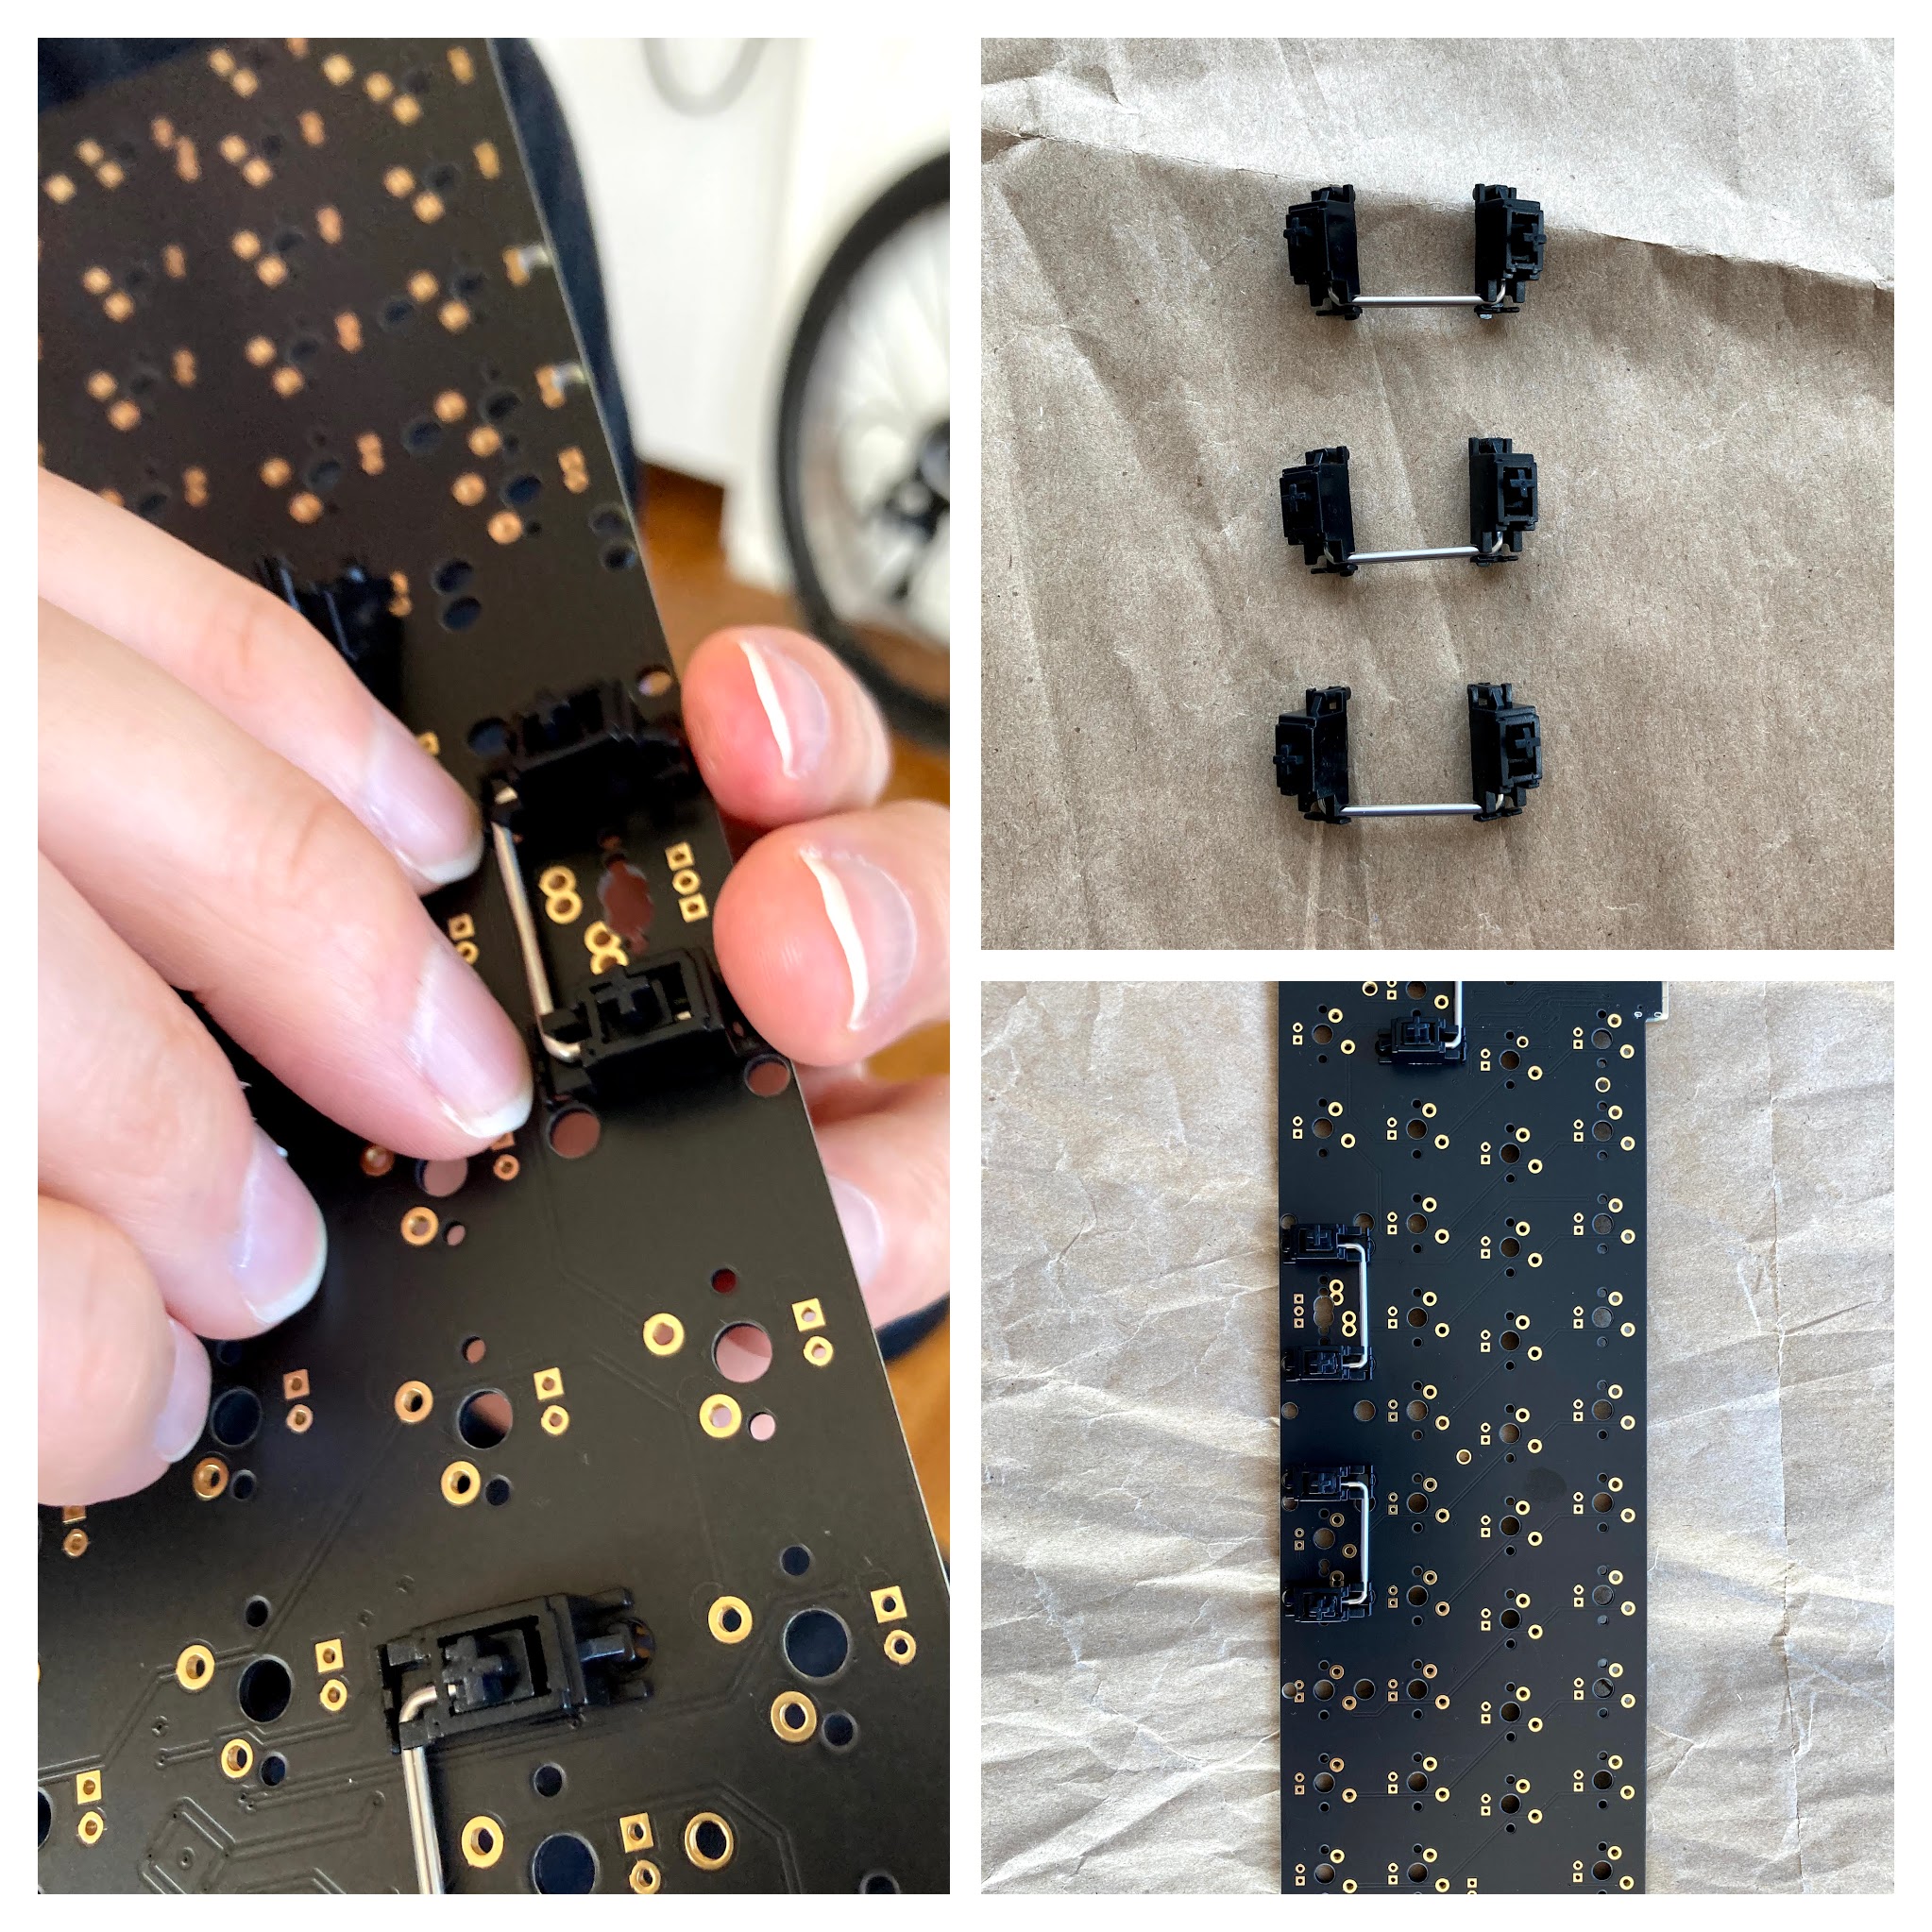
First, we installed the stabilizers, which prevent the long keys from rocking back and forth. With how small this keyboard is, there really aren’t very many long keys, so we only needed three short stabilizers.
Installing them took a bit of force, which was nerve-racking, since I knew that if I damaged the PCB, I’d have to wait another 3 months for a new one!
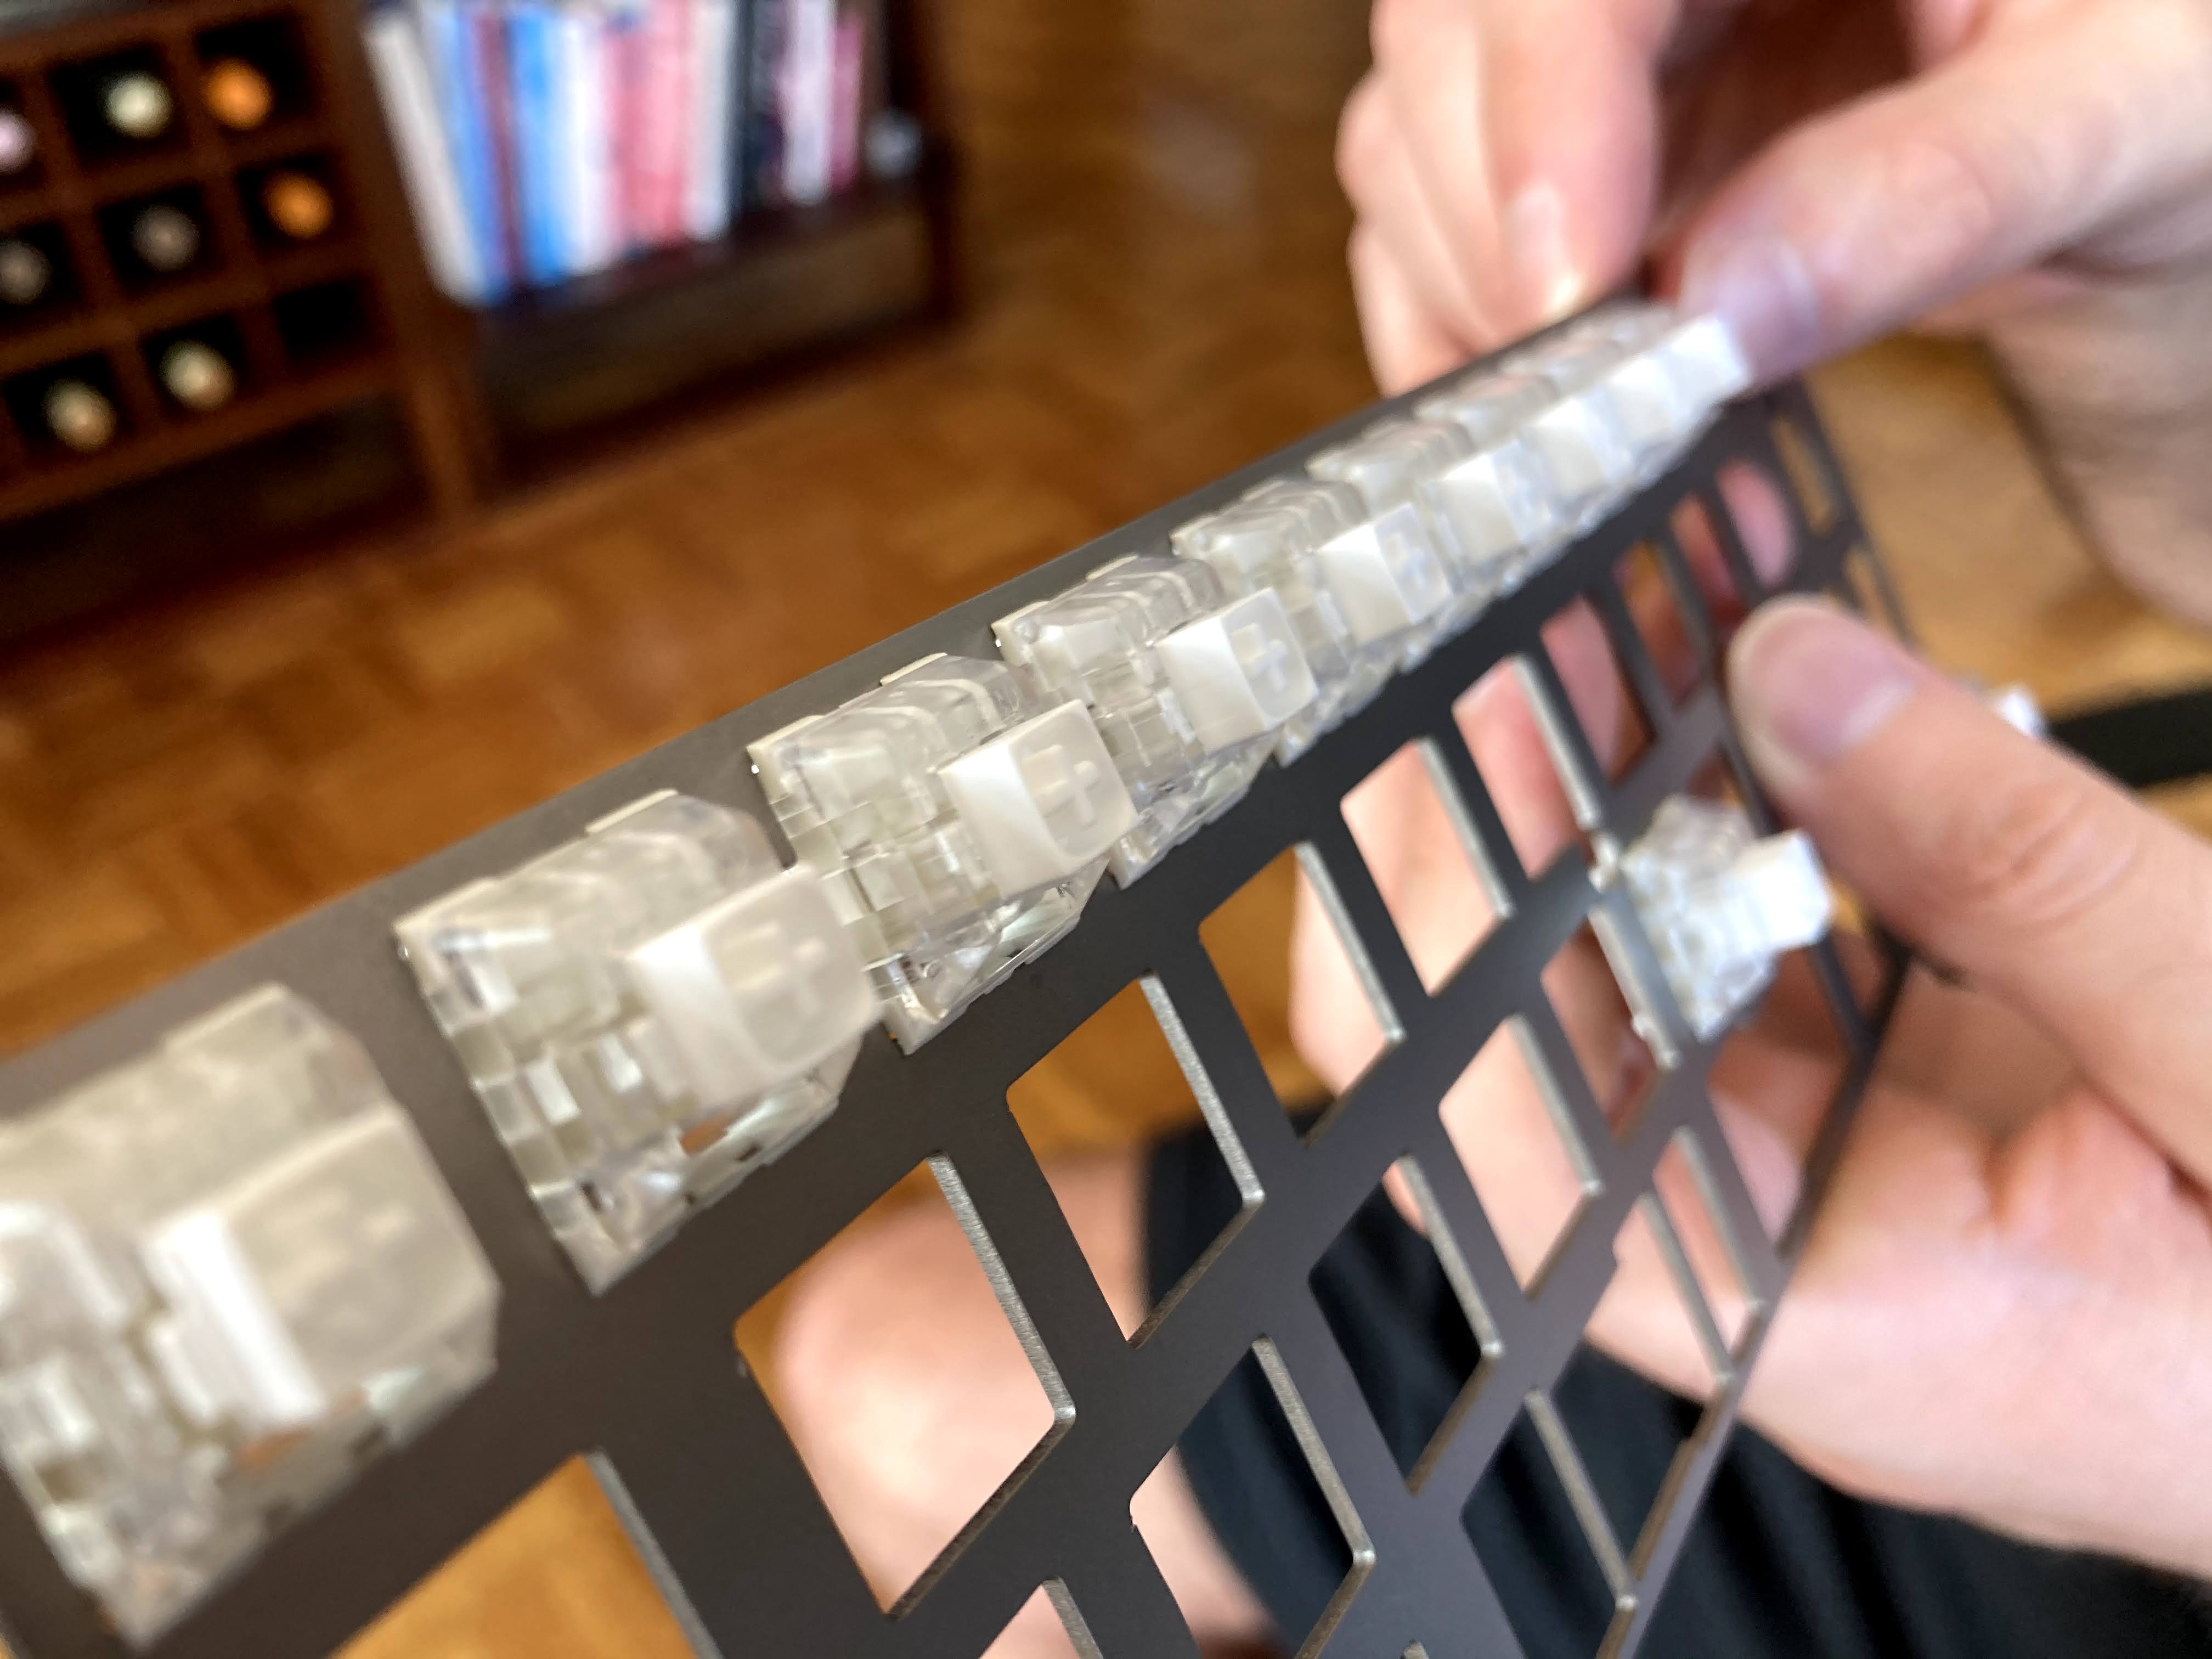
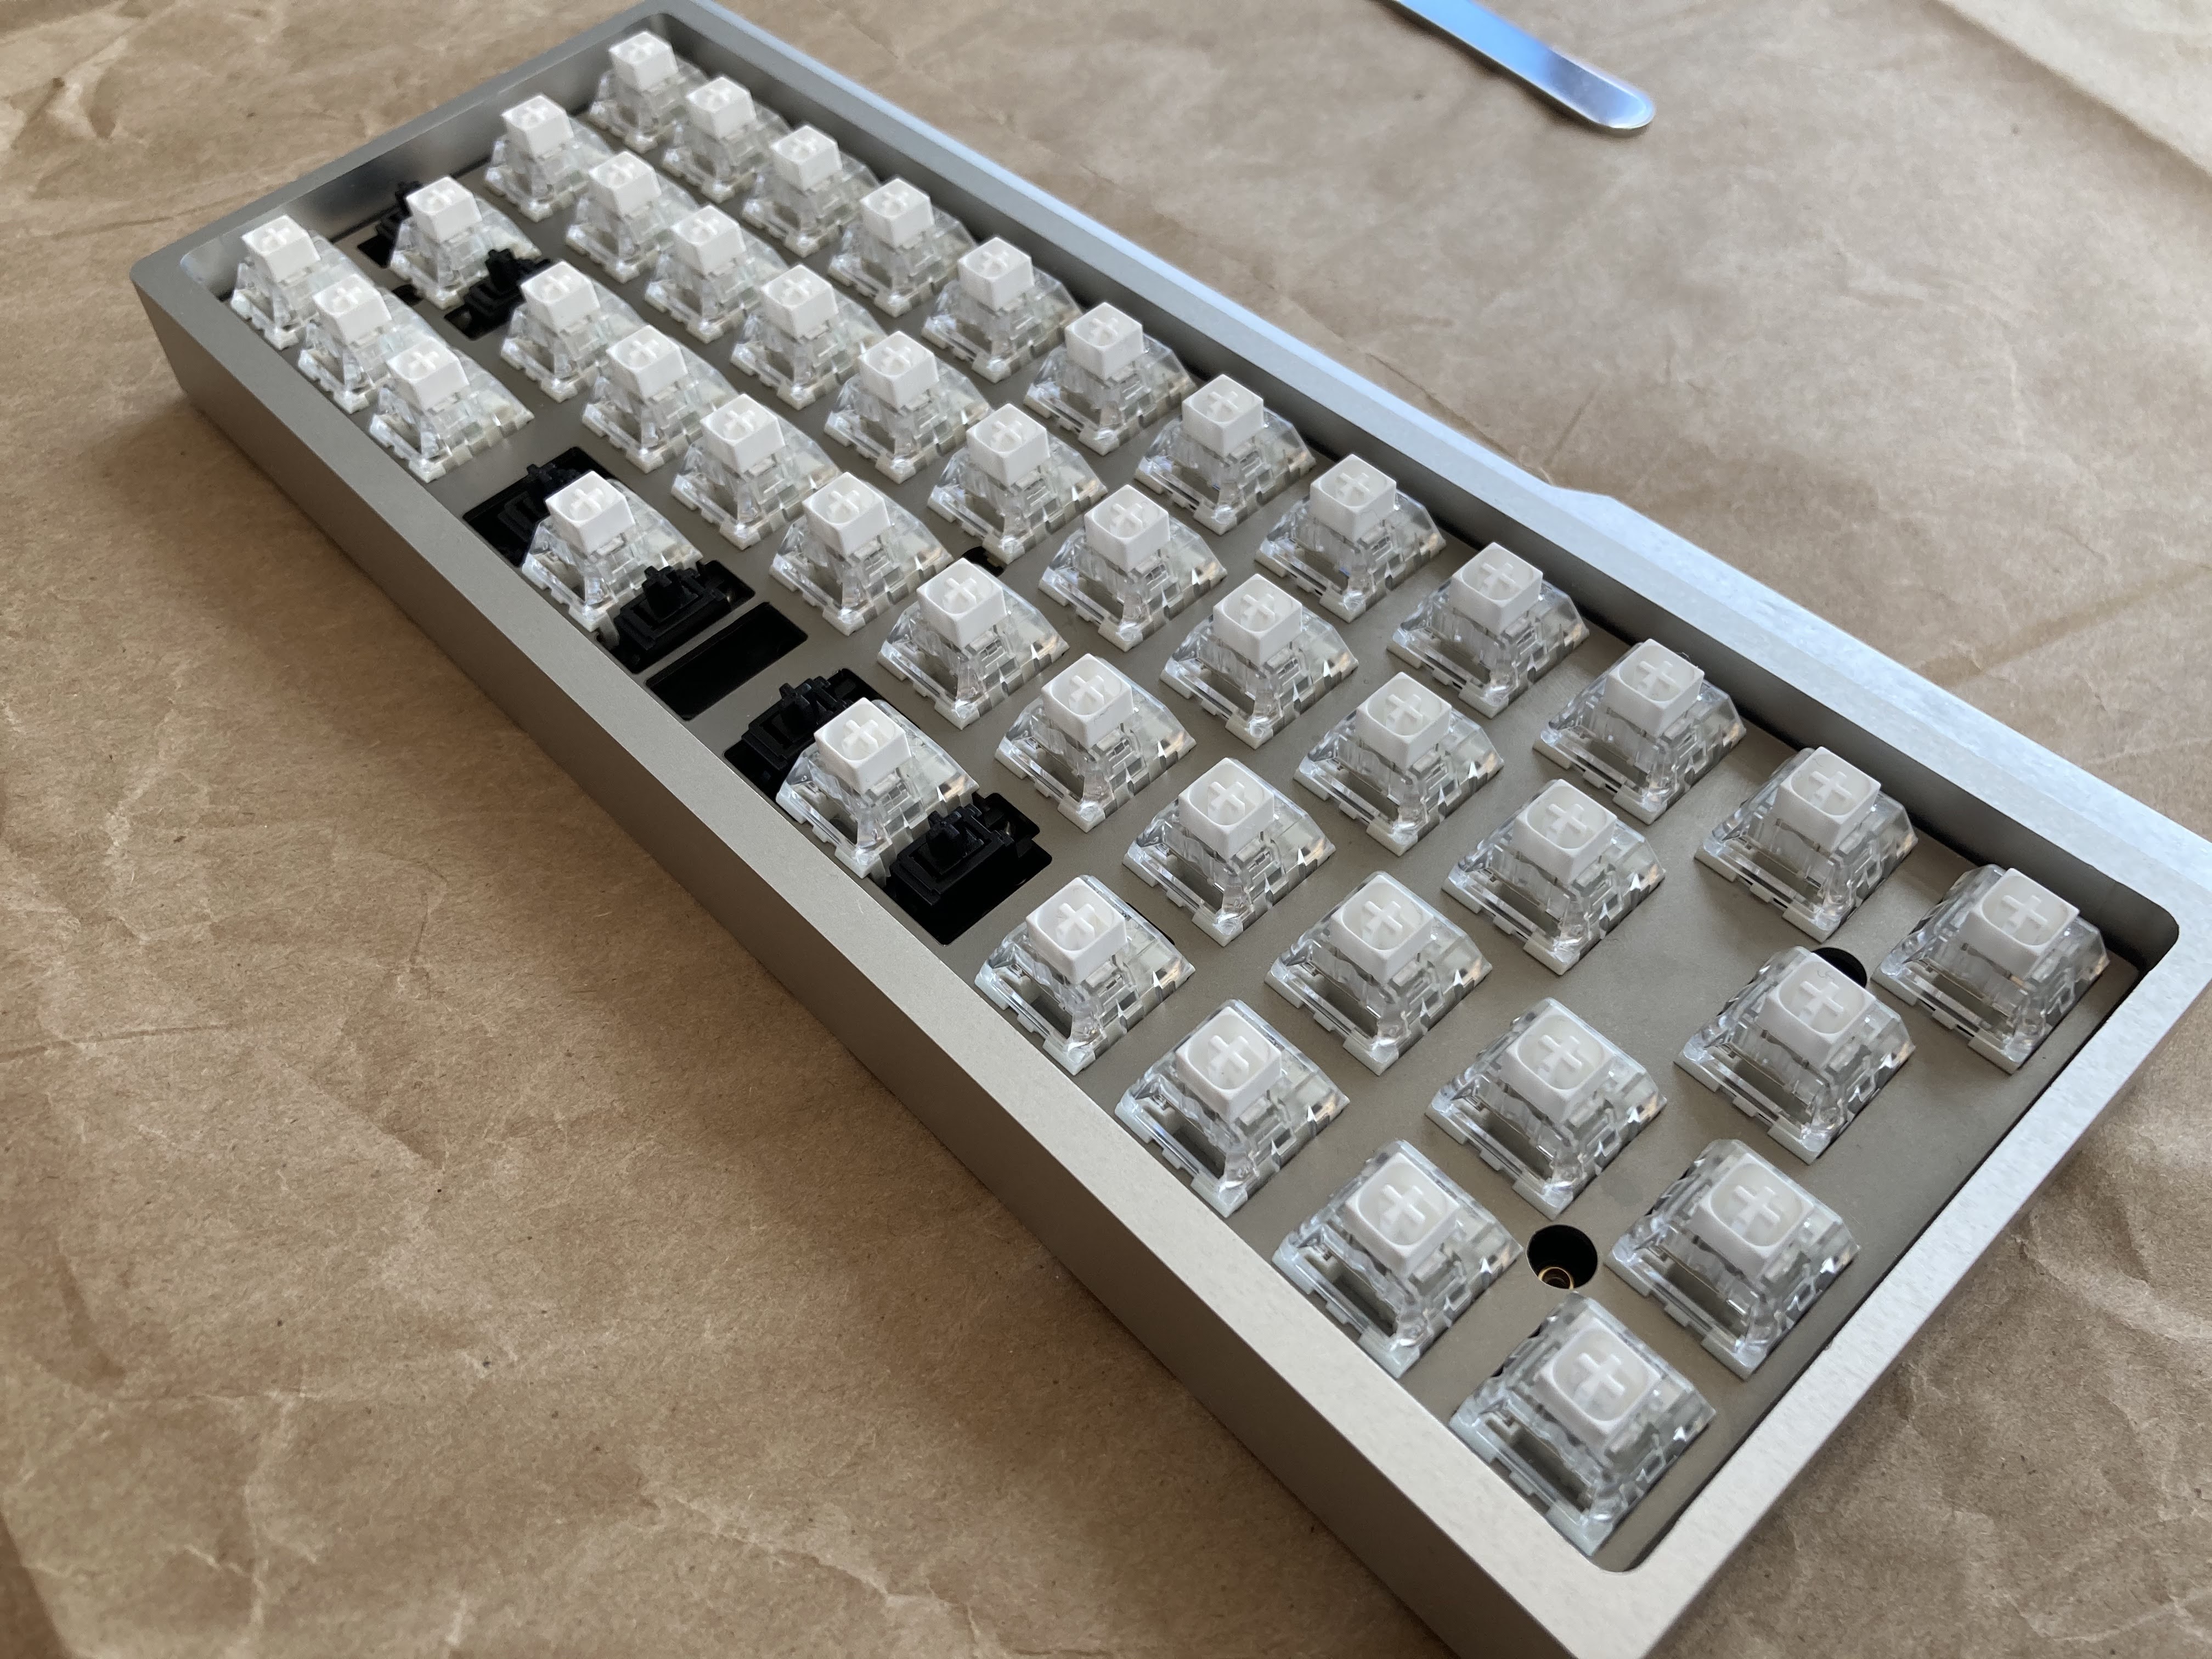
Switches
I decided to use Kailh Box White switches. I think they’re an underrated switch; they’re well-balanced, just a little bit tactile, and have a not-too-loud click.

First, we mounted the switches on the plate.
Then we put the plate on the PCB. I was concerned that some misaligned switch would cause the PCB not to fit, but everything worked beautifully.
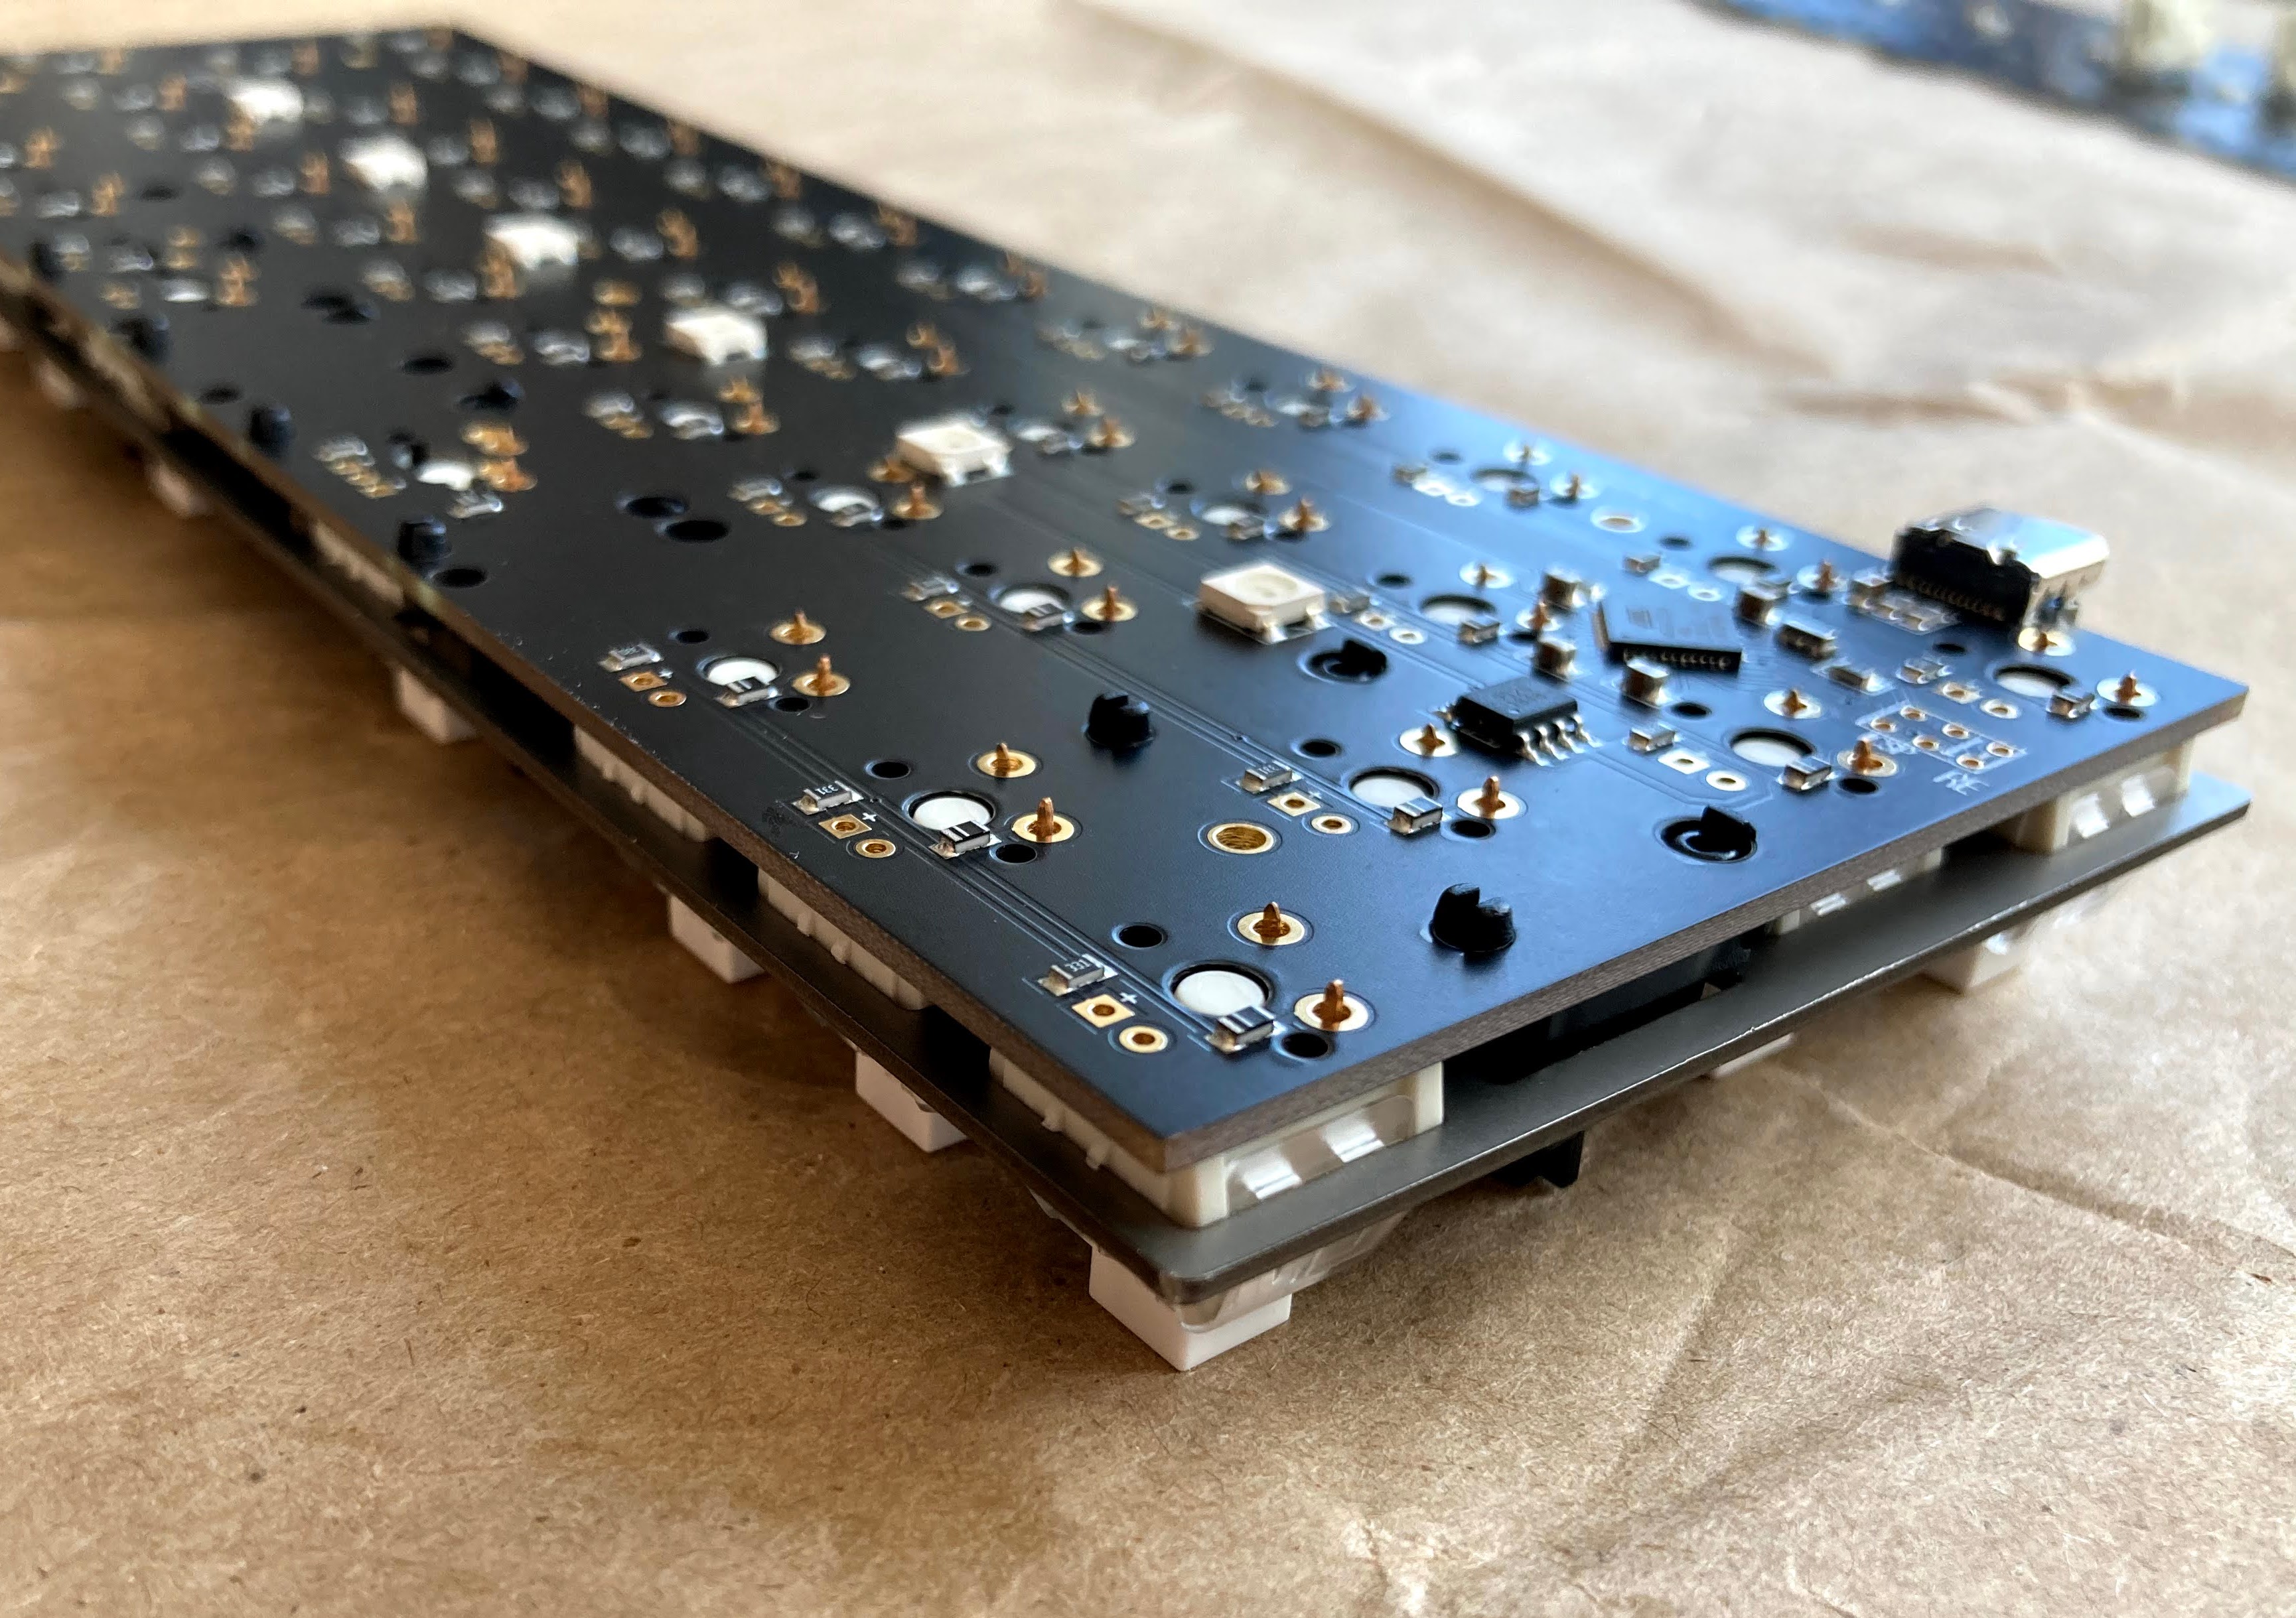
Hey, that looks kind of like a keyboard!
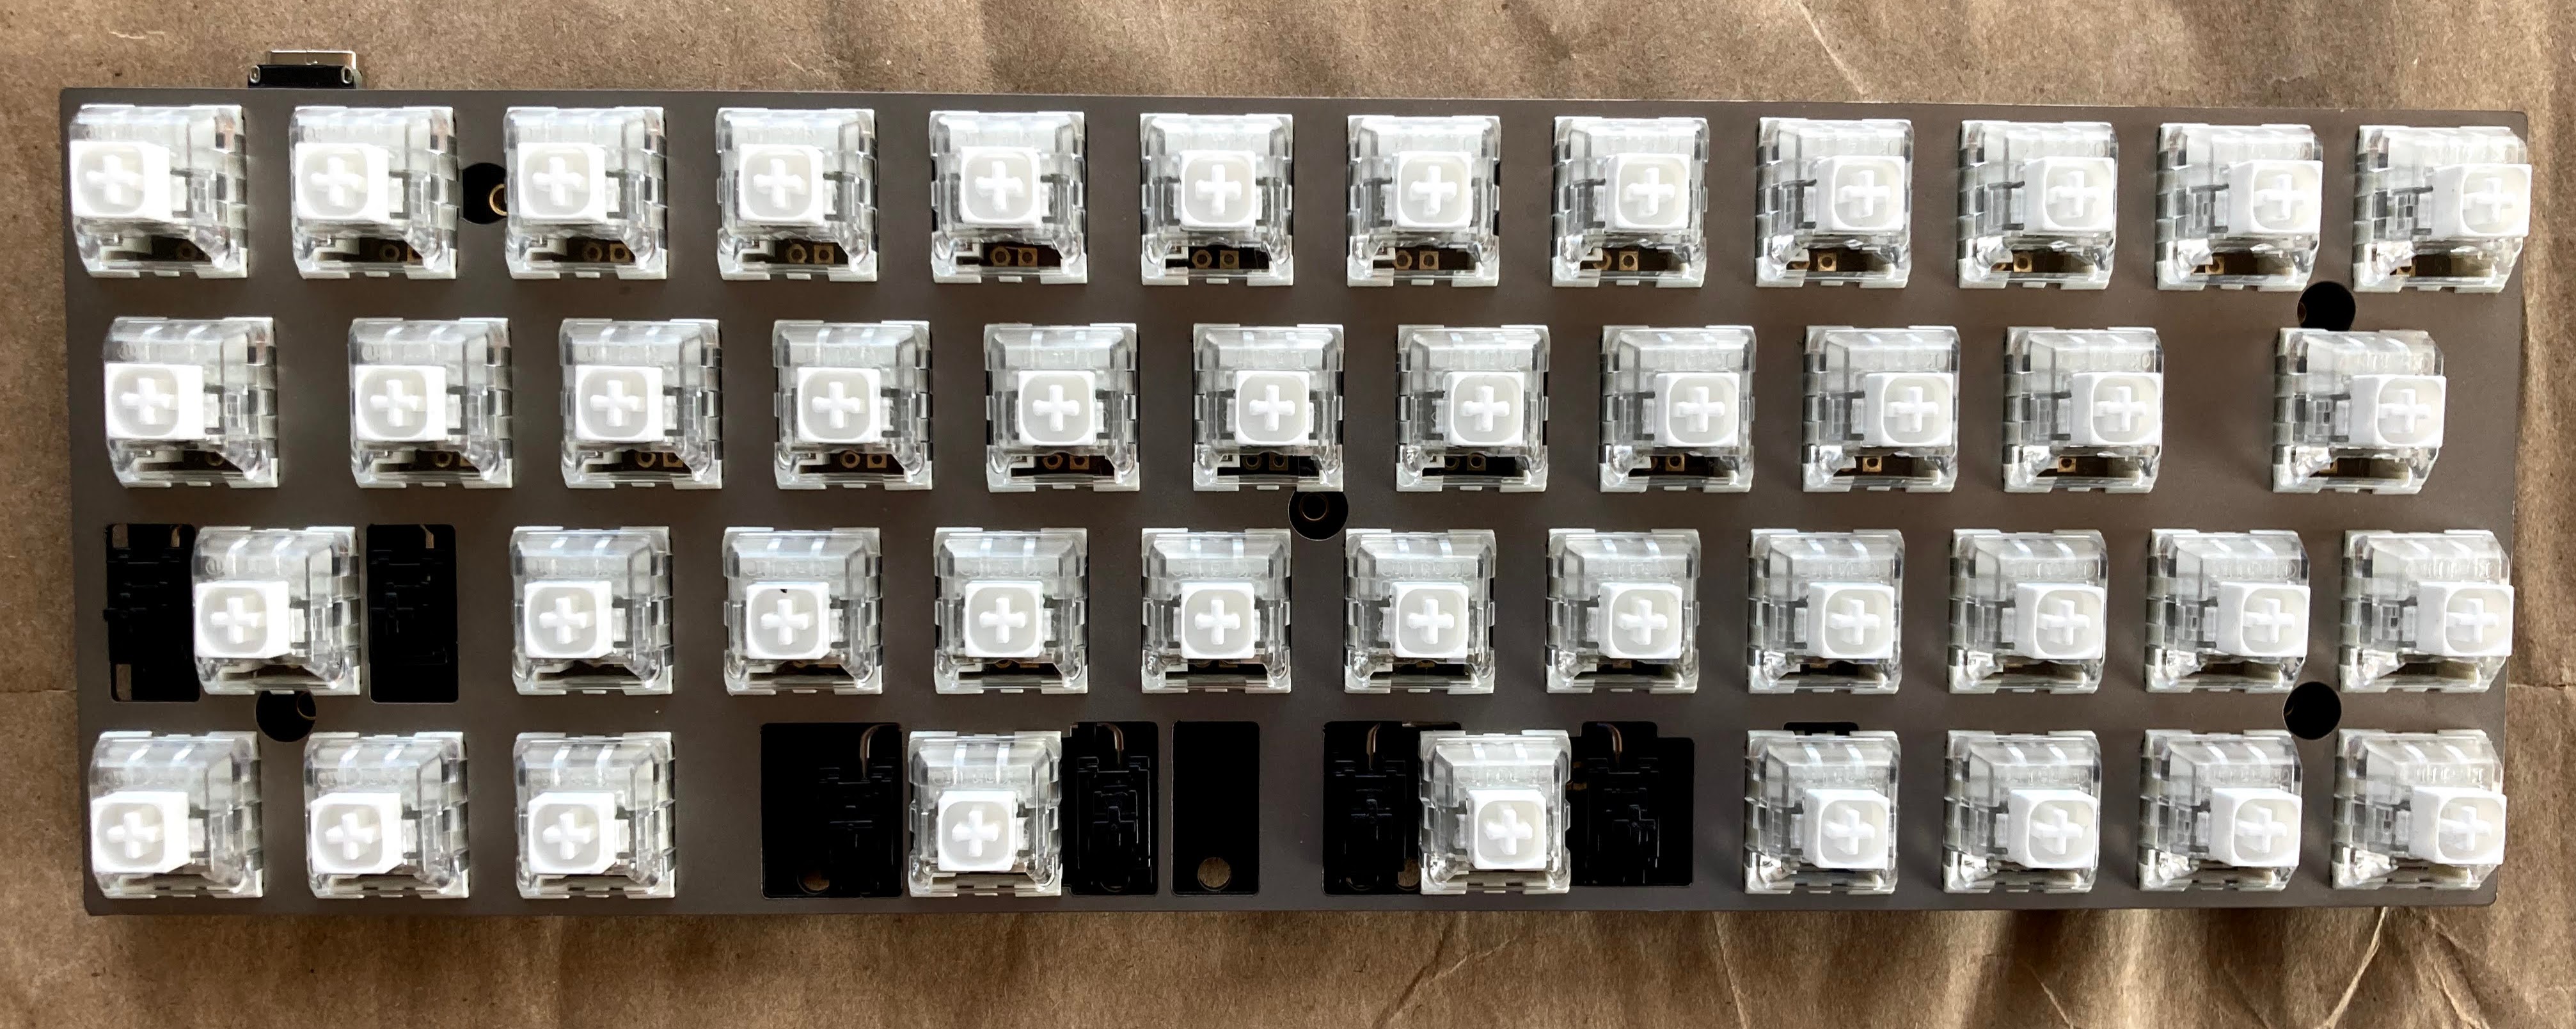
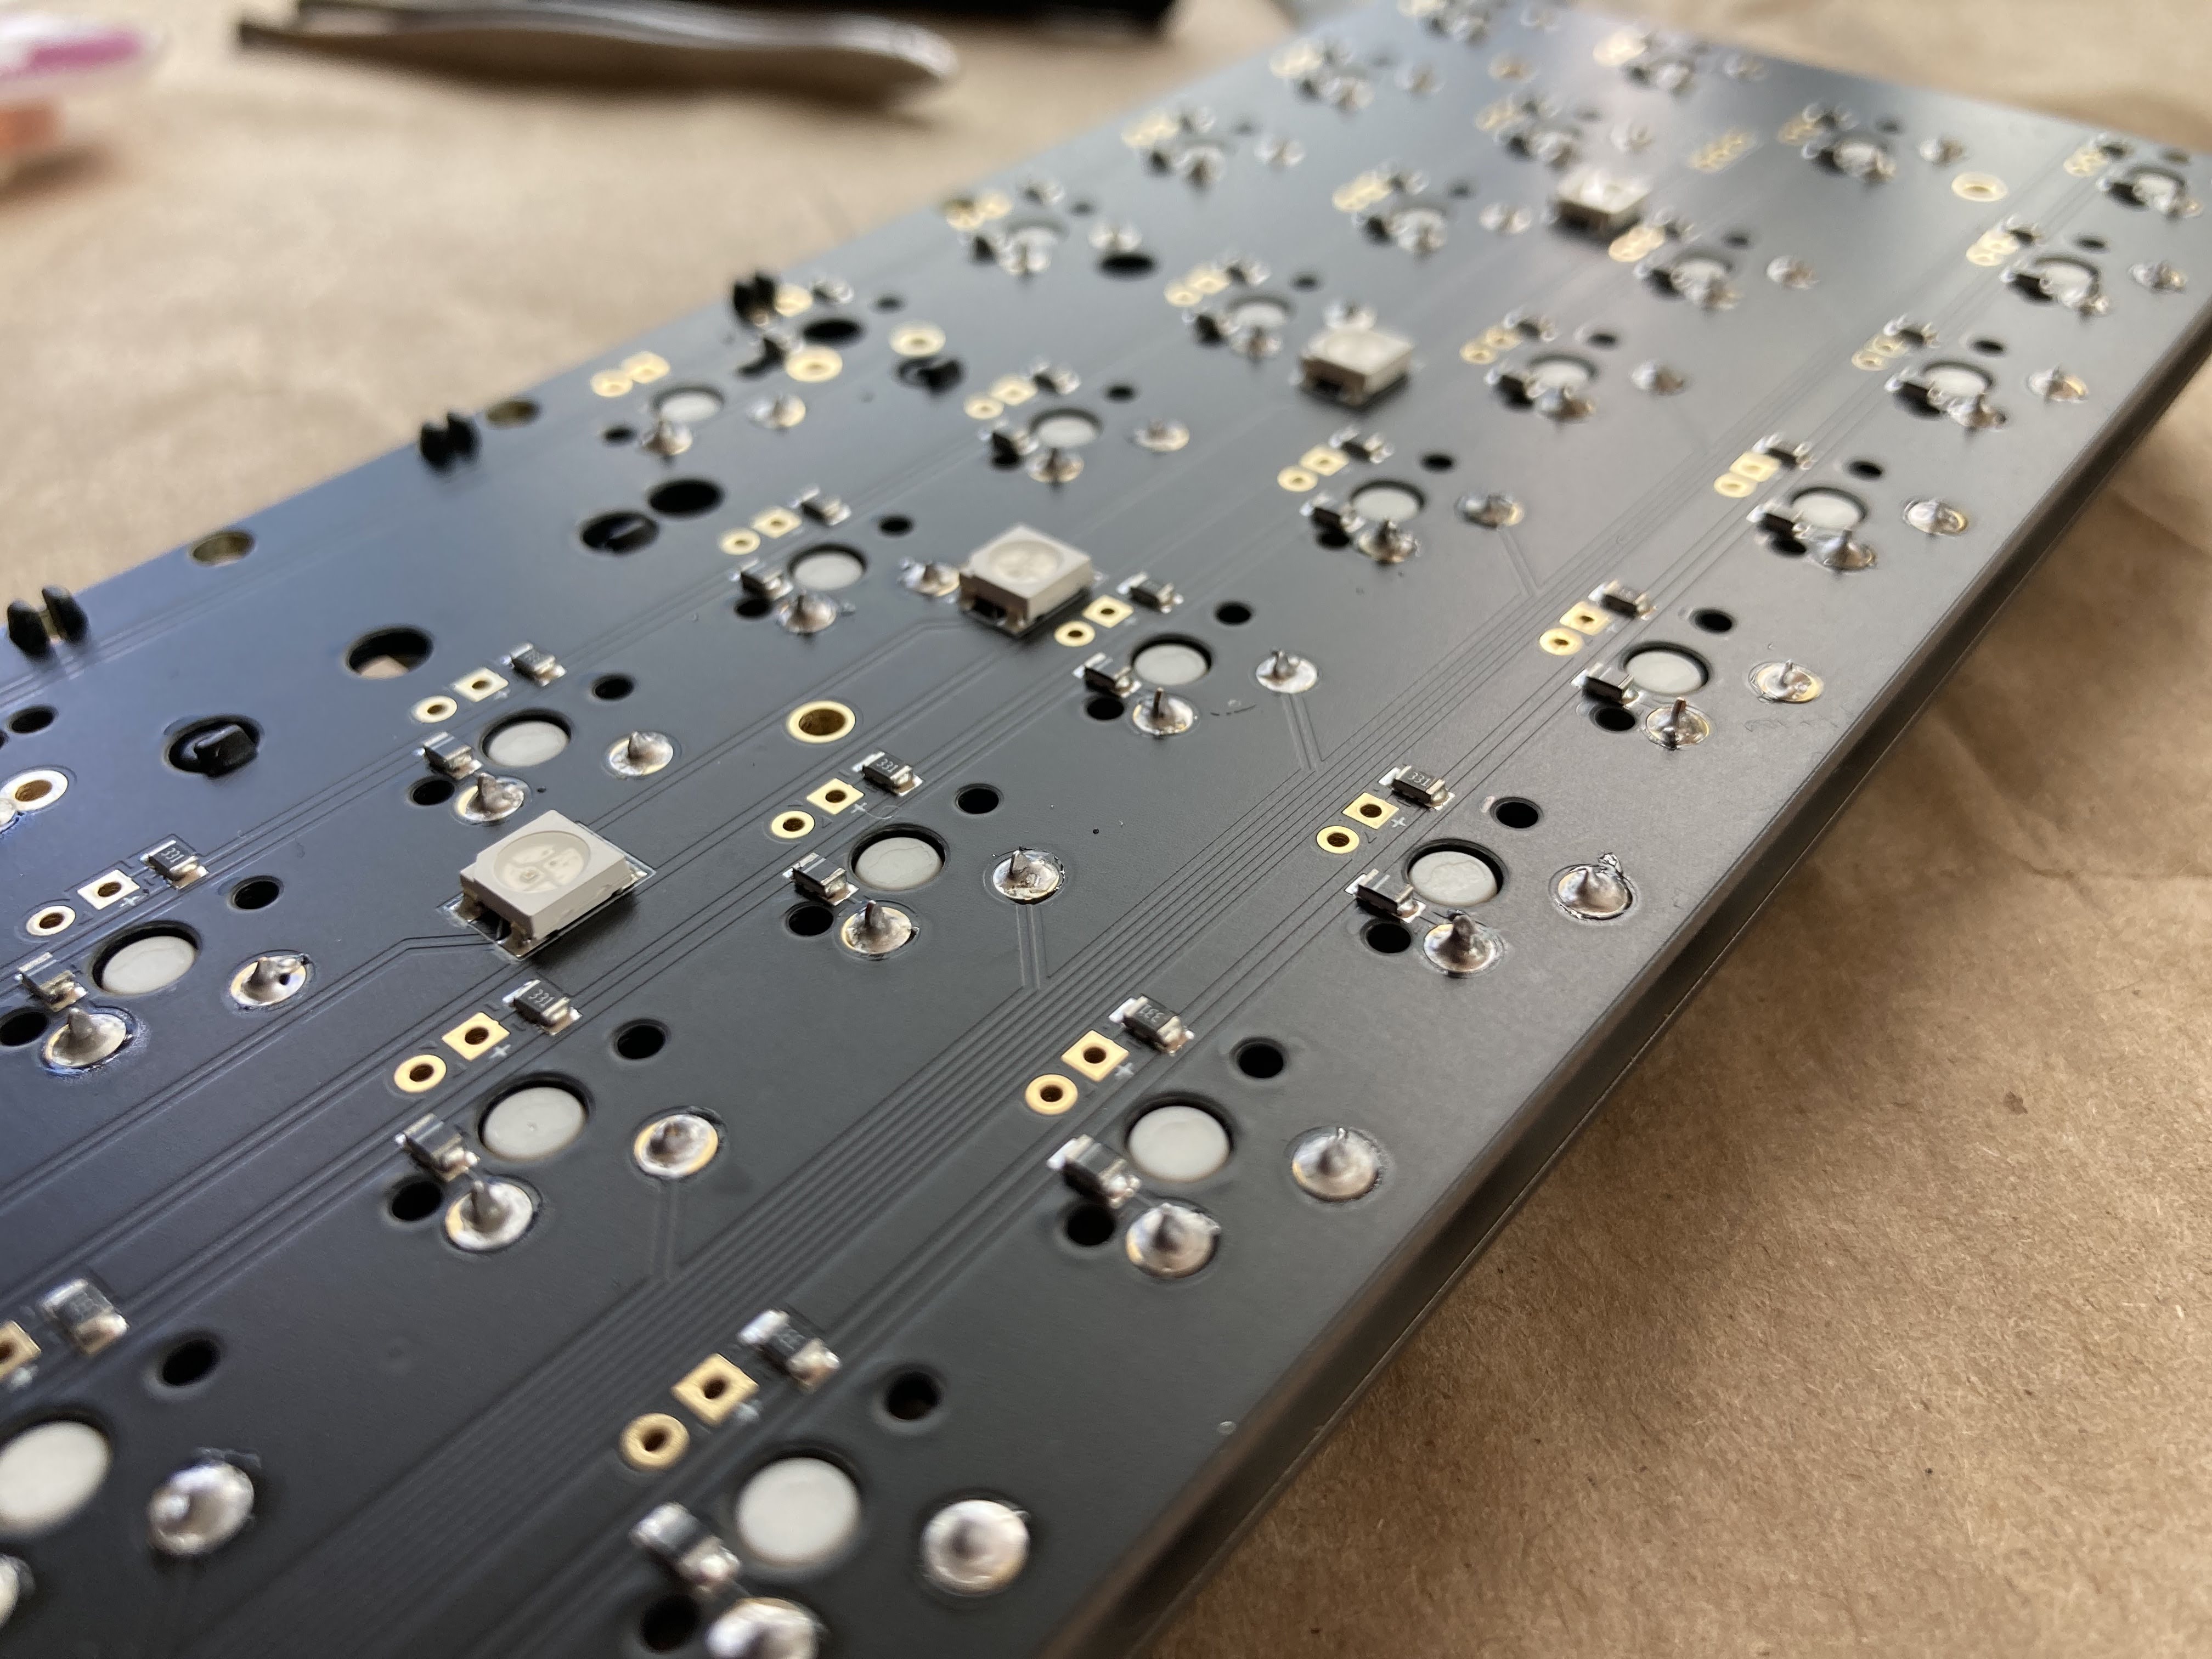
Soldering
I was intimidated by soldering (hot temperatures, poisonous metals, what’s to like?), but Ariadne had experience from architecture school. Also, we still had the original, faulty PCB to practice on. Ariadne’s technique was far superior to mine, so she soldered in the switches.
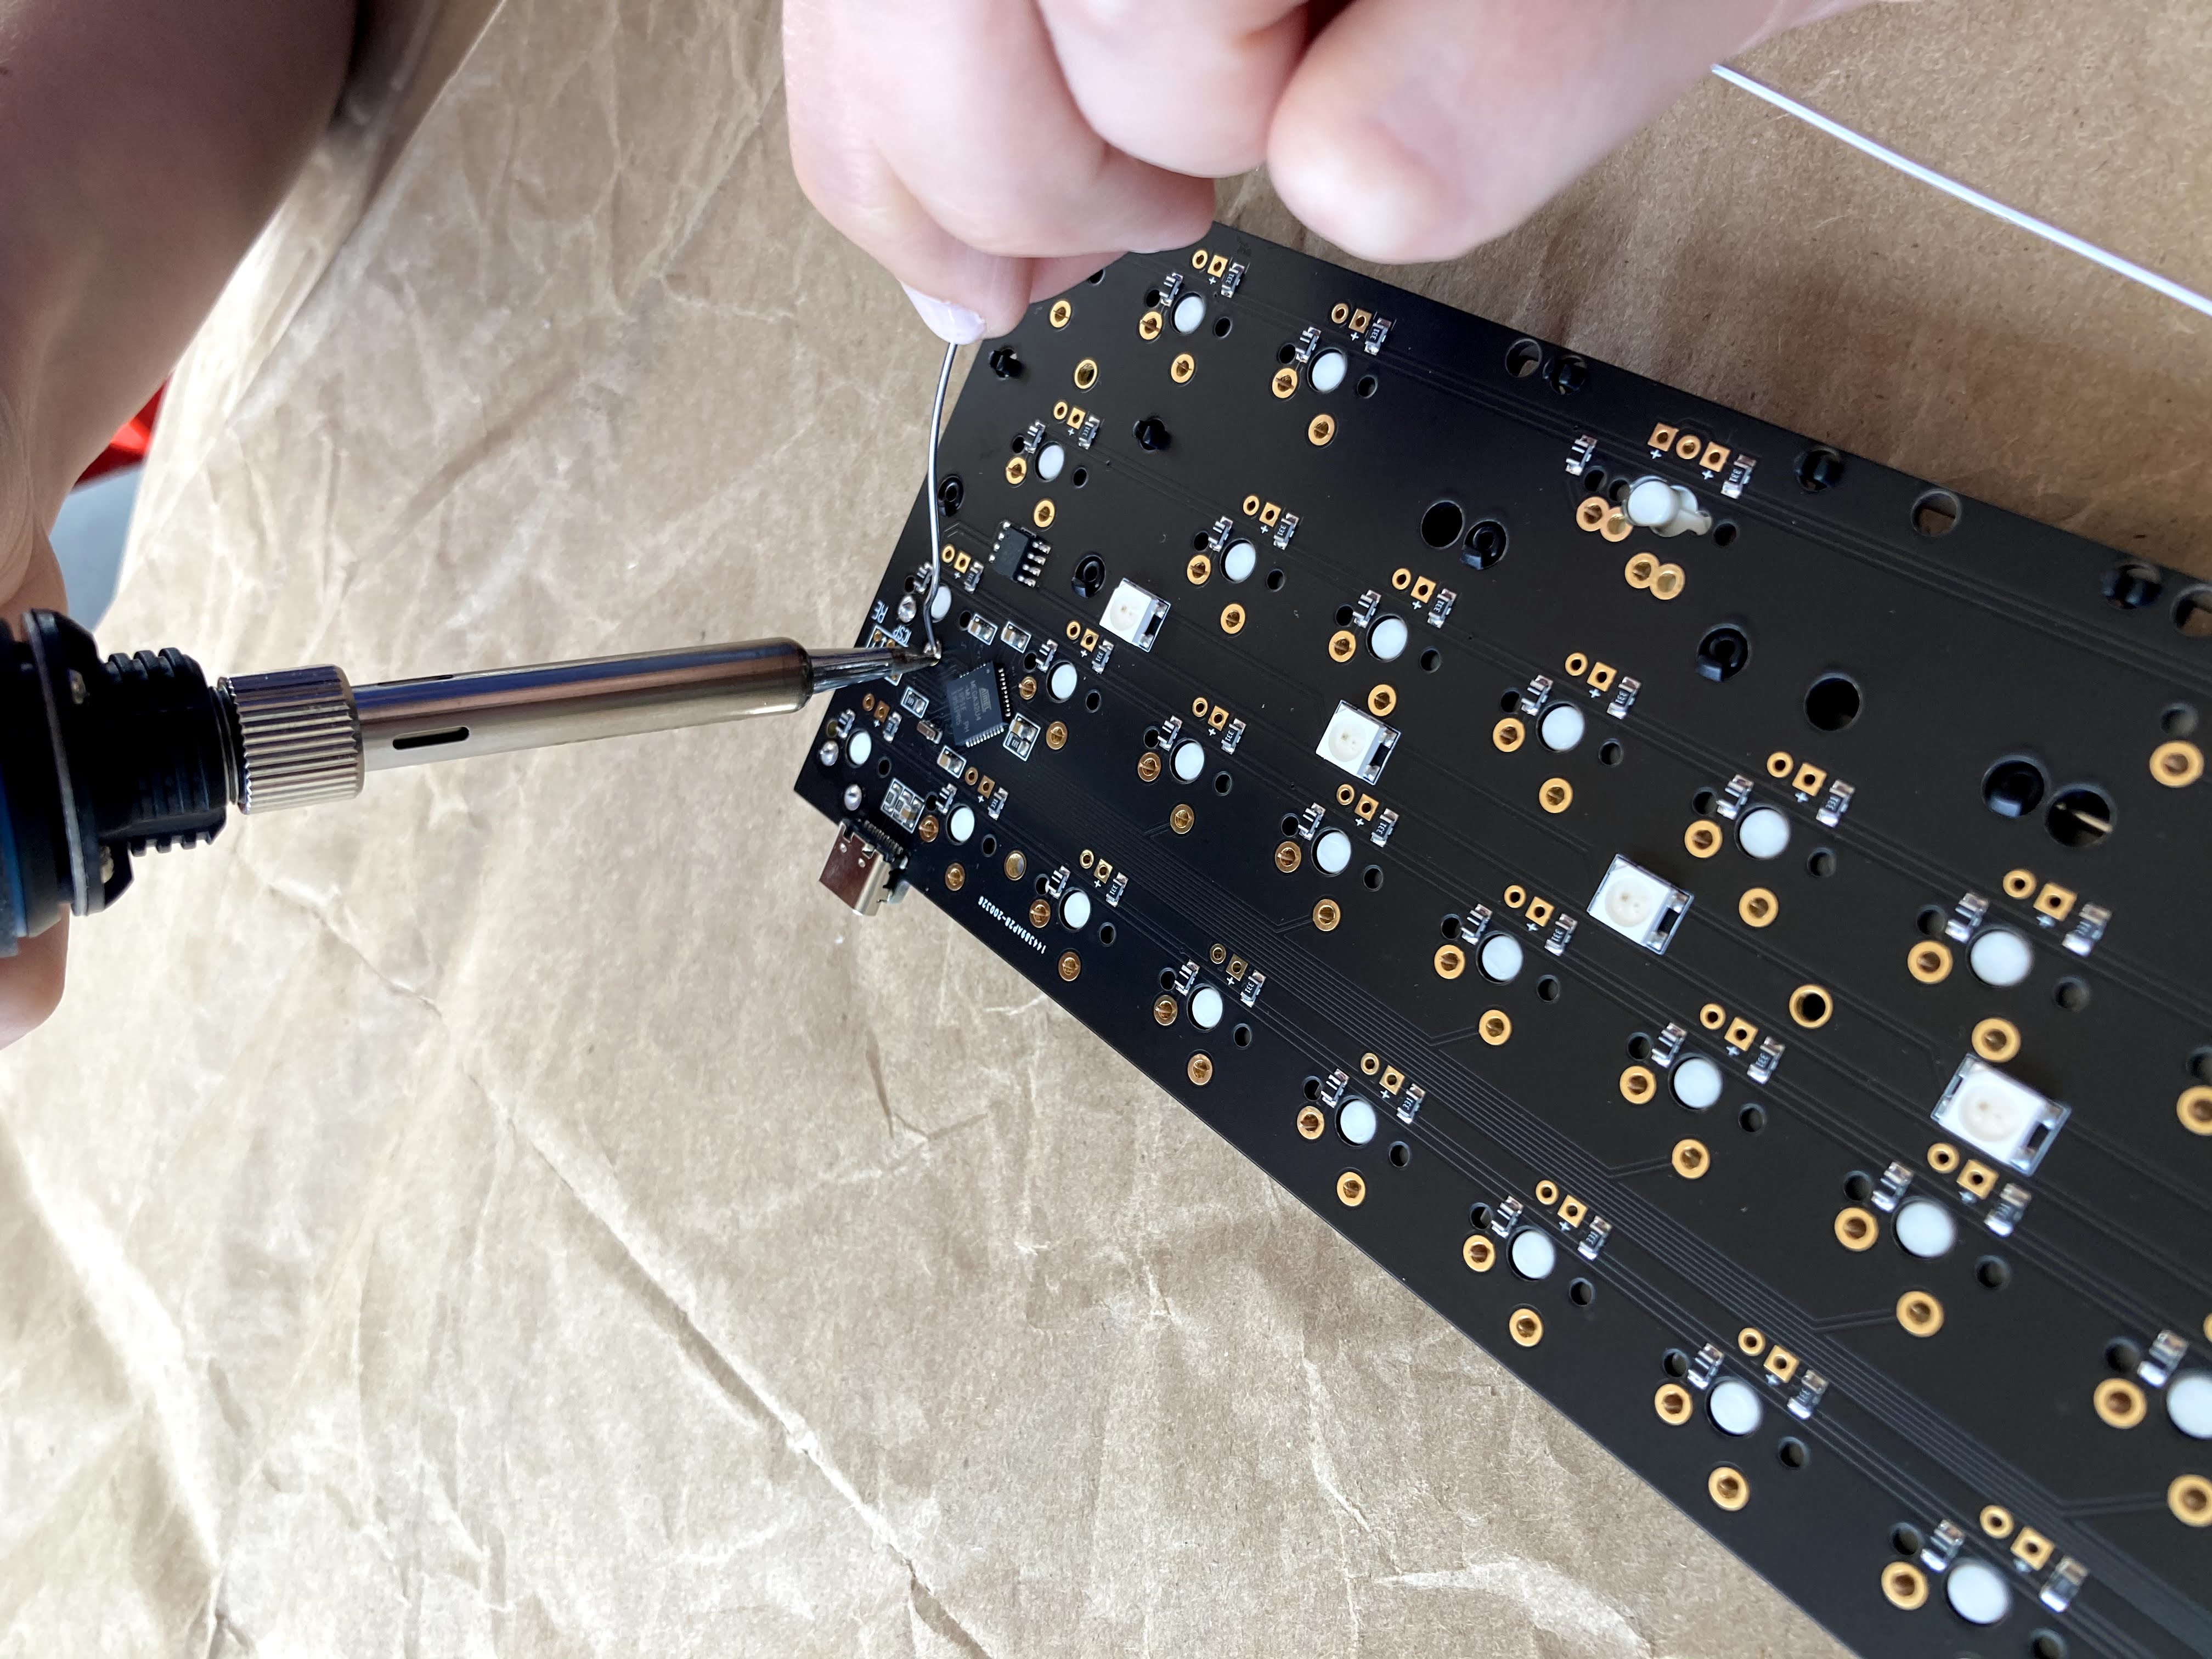
To my eye, the result was beautiful. And we figured now was a good time to plug in the PCB to test to the soldered switches… success!
The Case
Then we put the PCB and the plate in the case and screwed it in. We’re close to done!
Keycaps
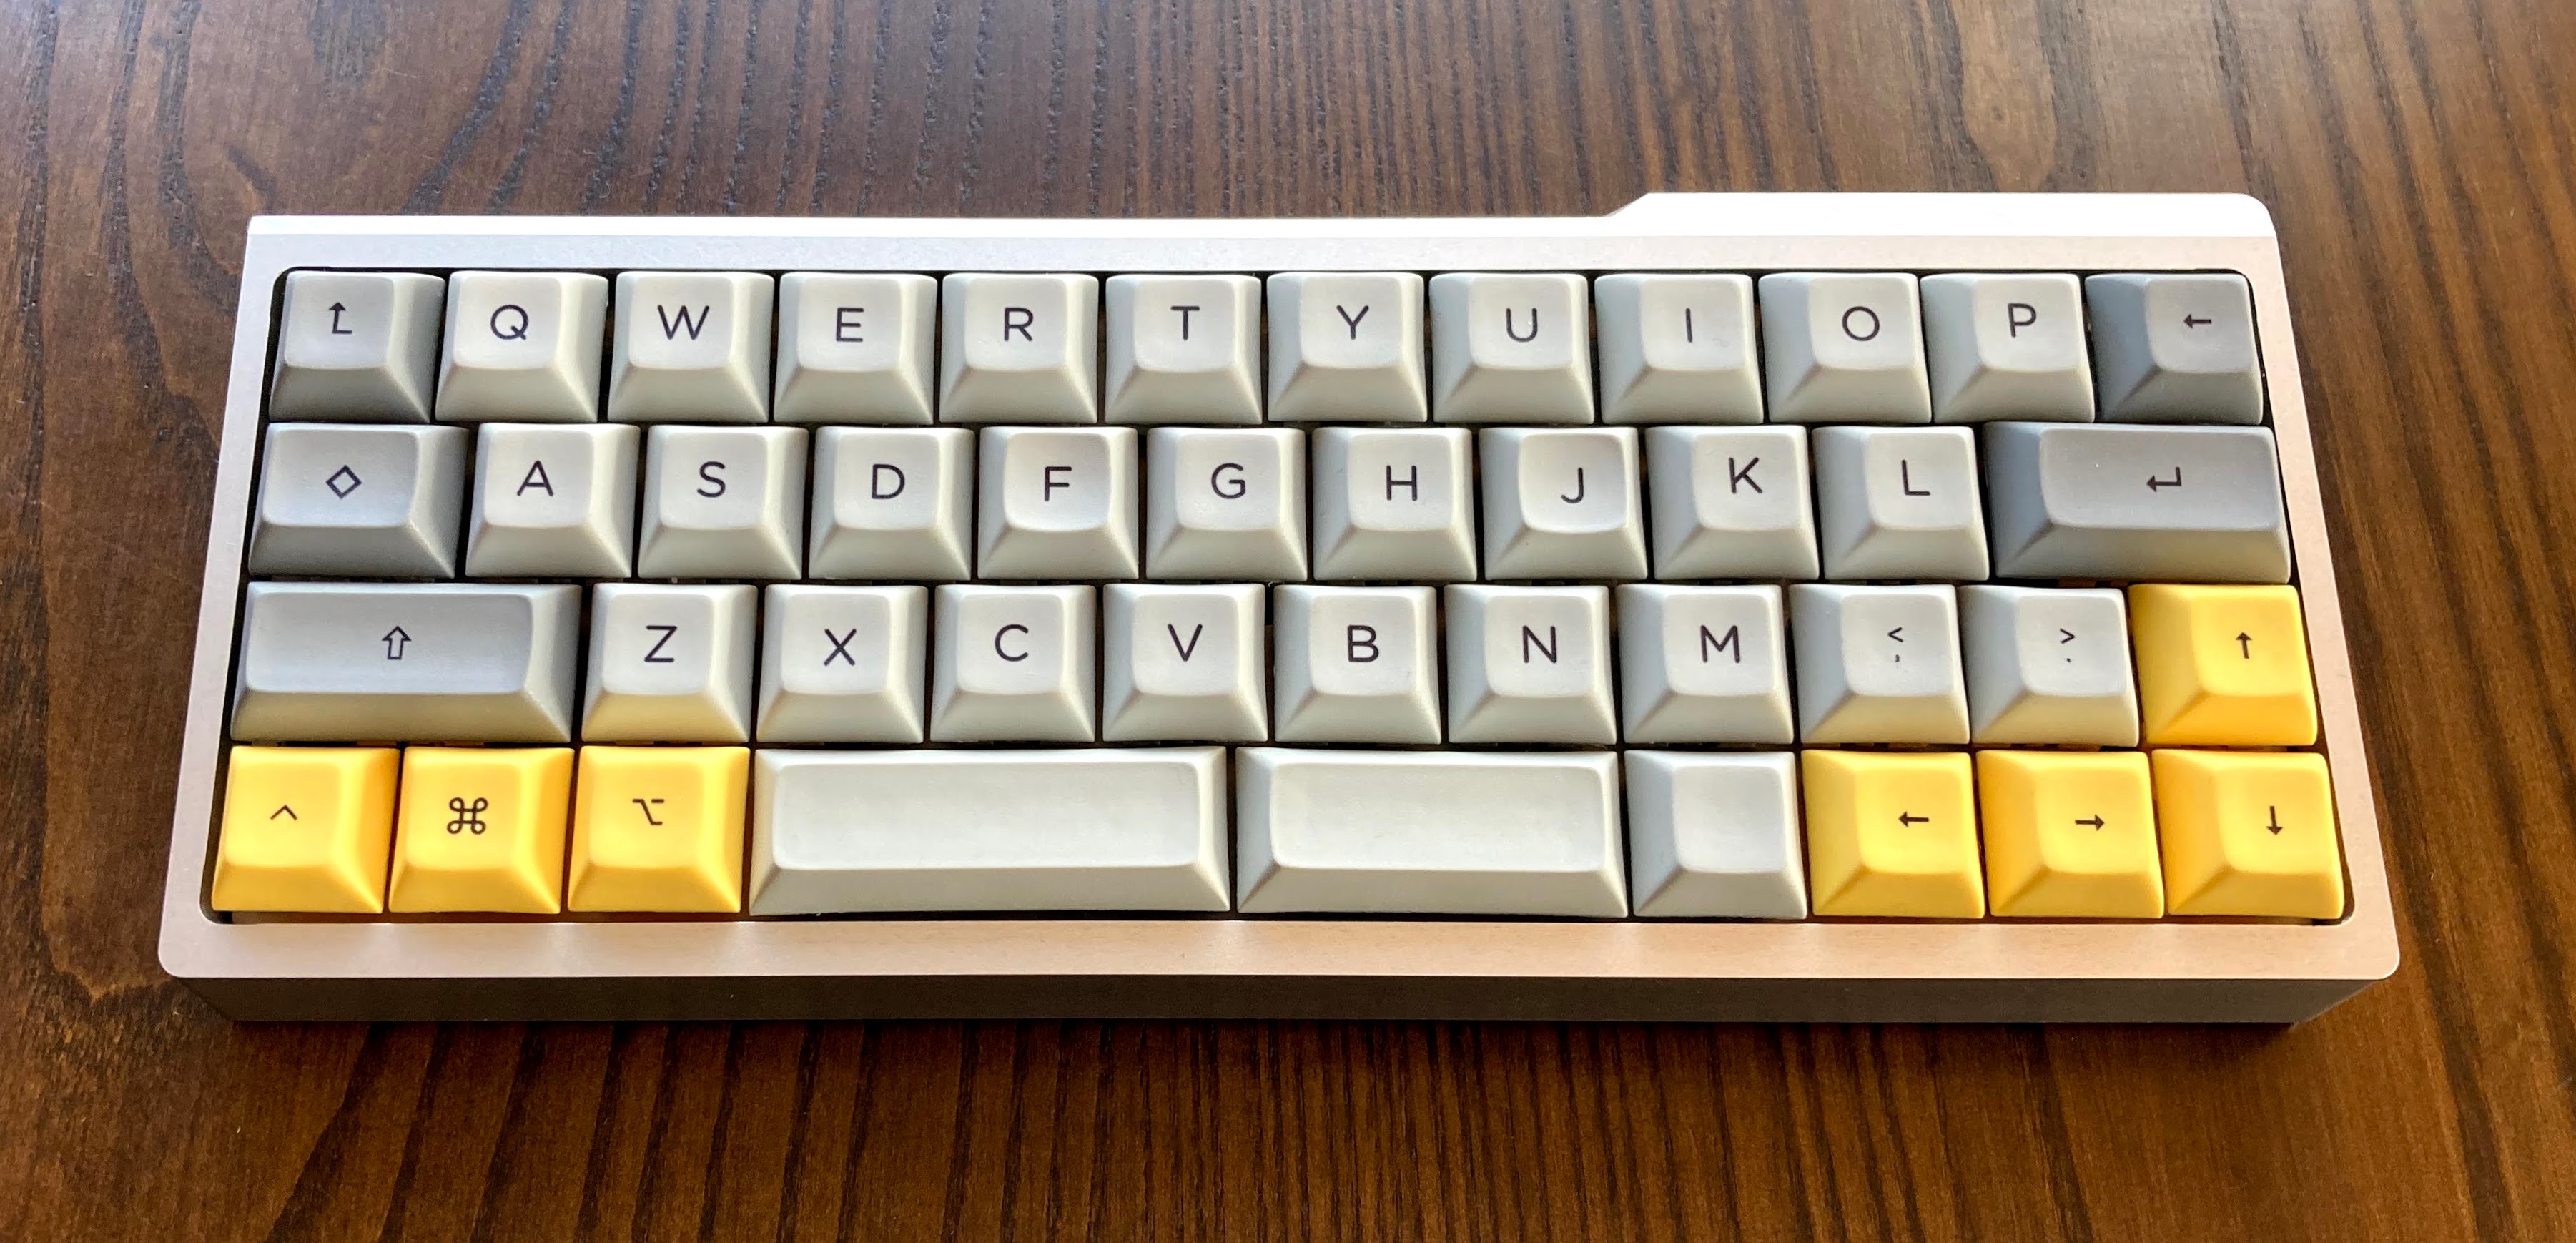
Finally, we installed the keycaps. We ordered the DSA Dye Sub 40Layout Keycaps from KBDfans. They came with a bunch of different sizes and colors, so we had plenty of options.
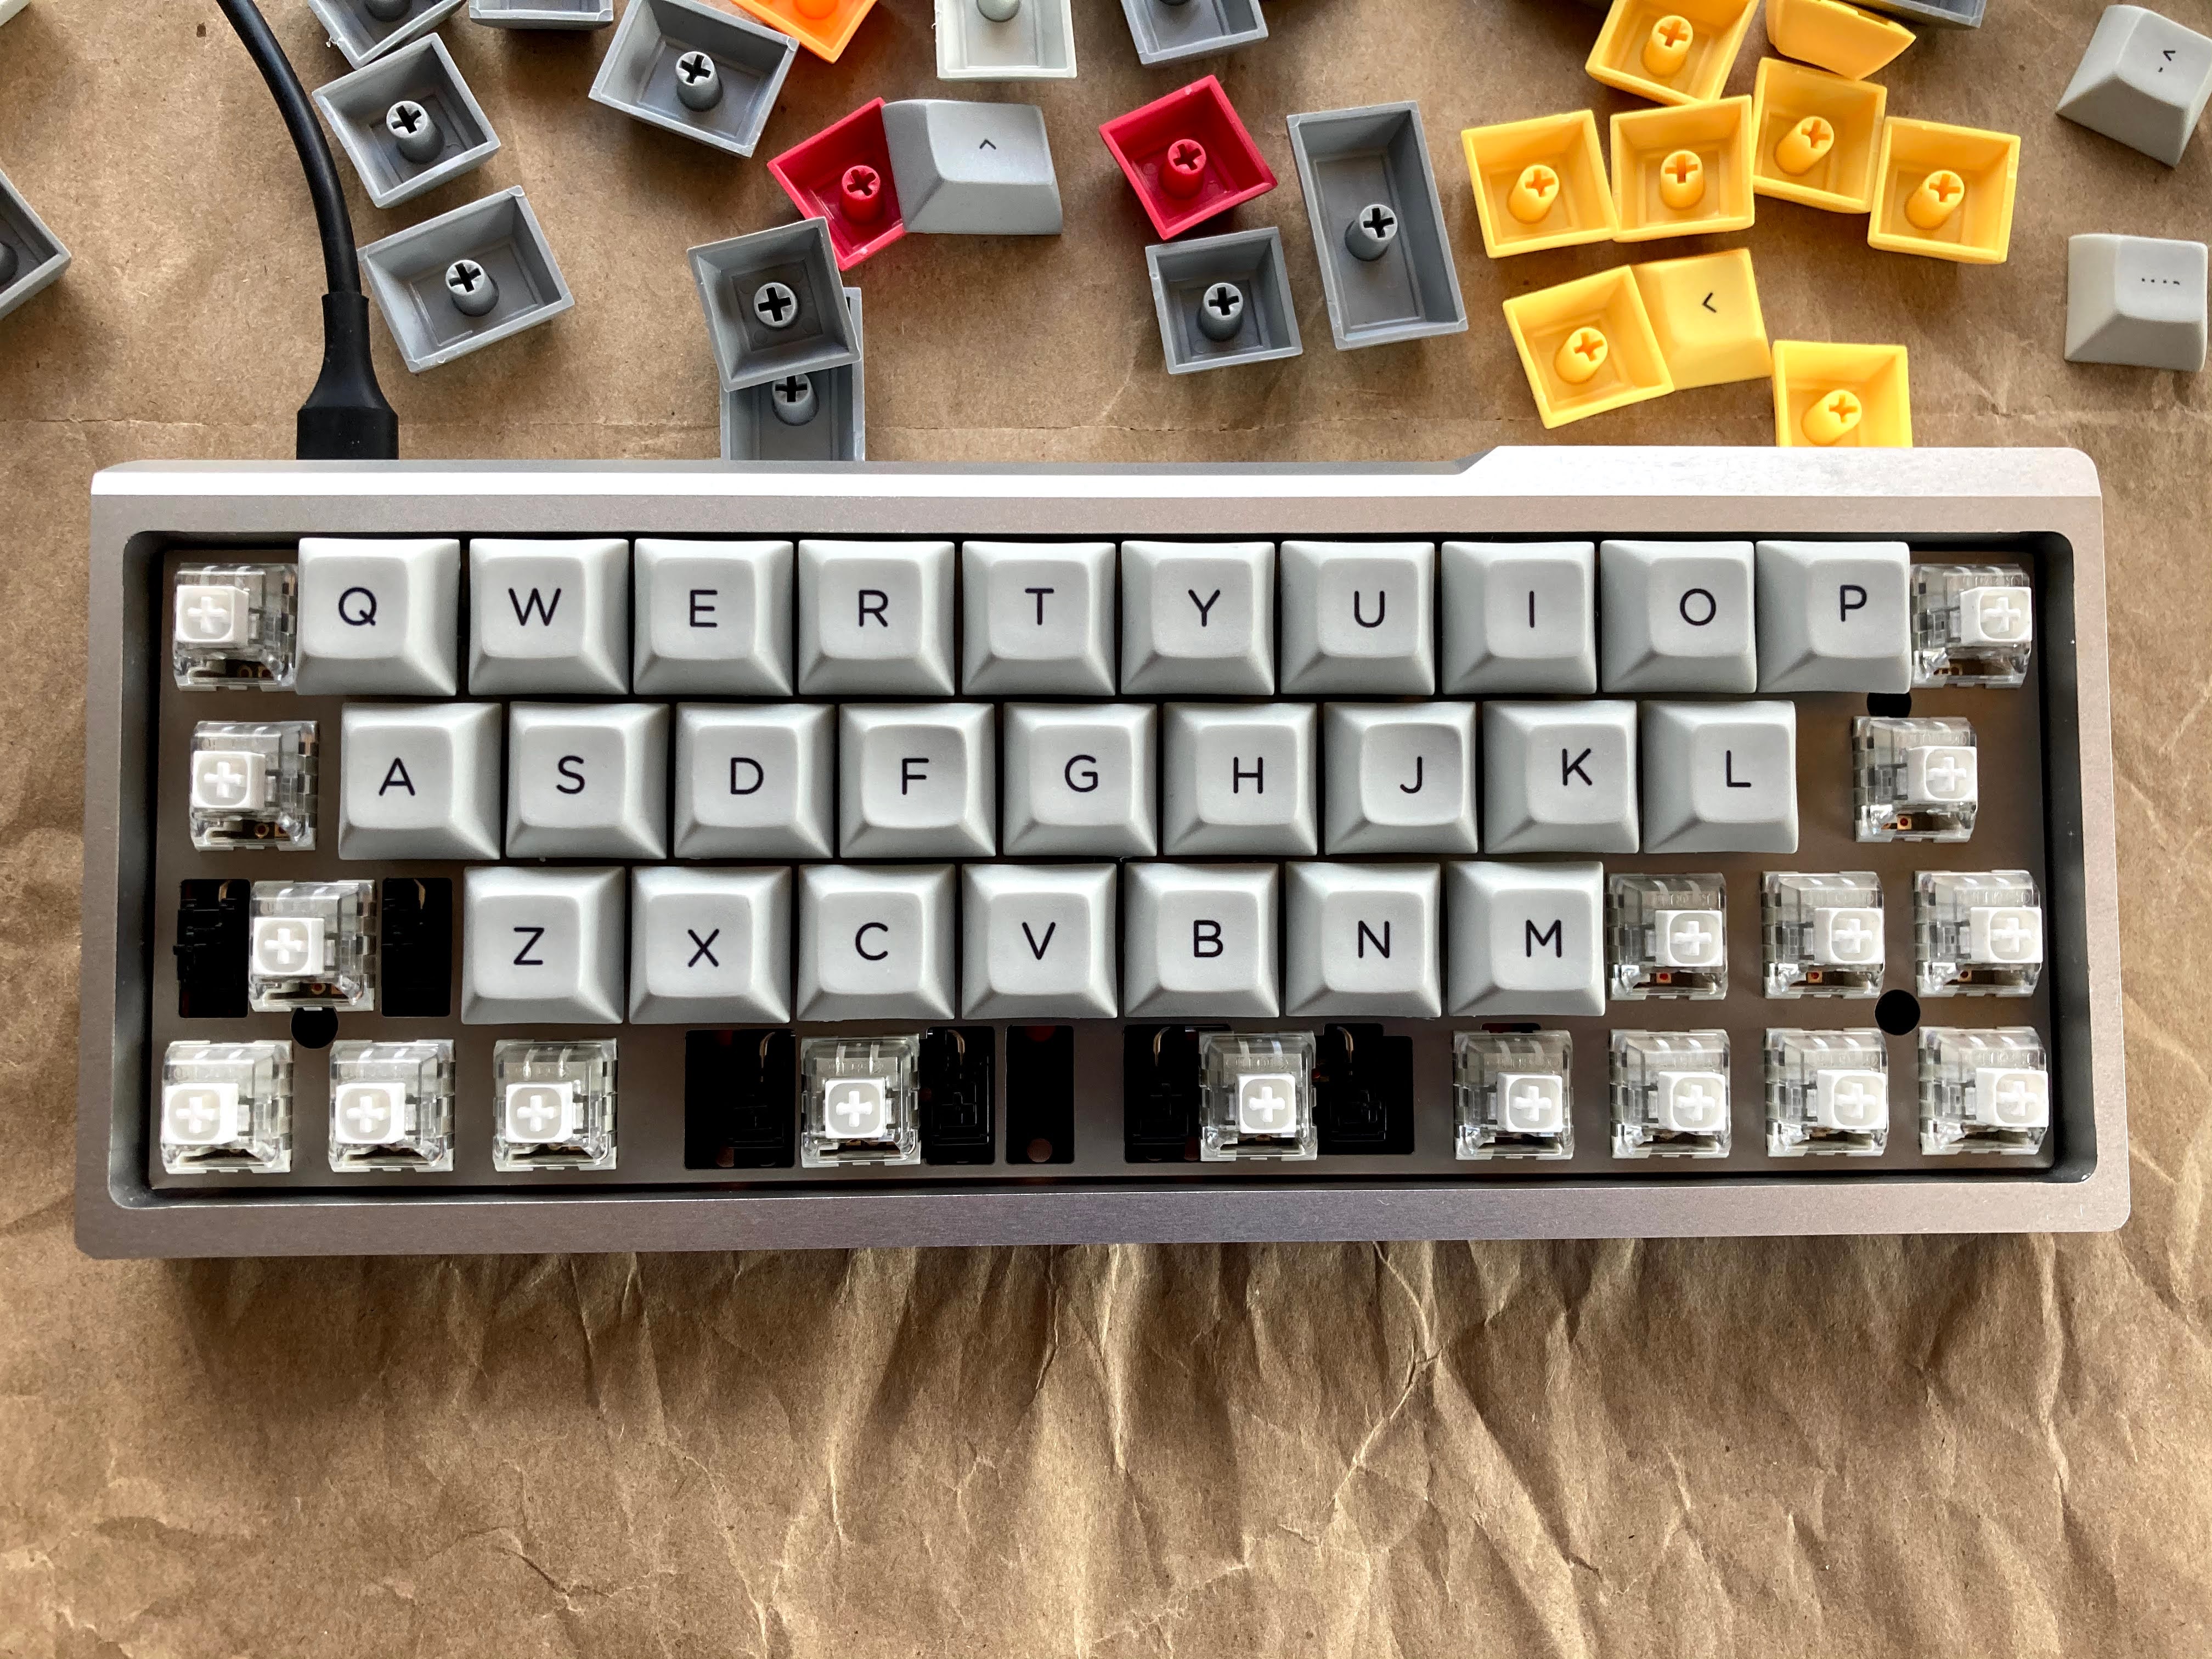
And we’re done!
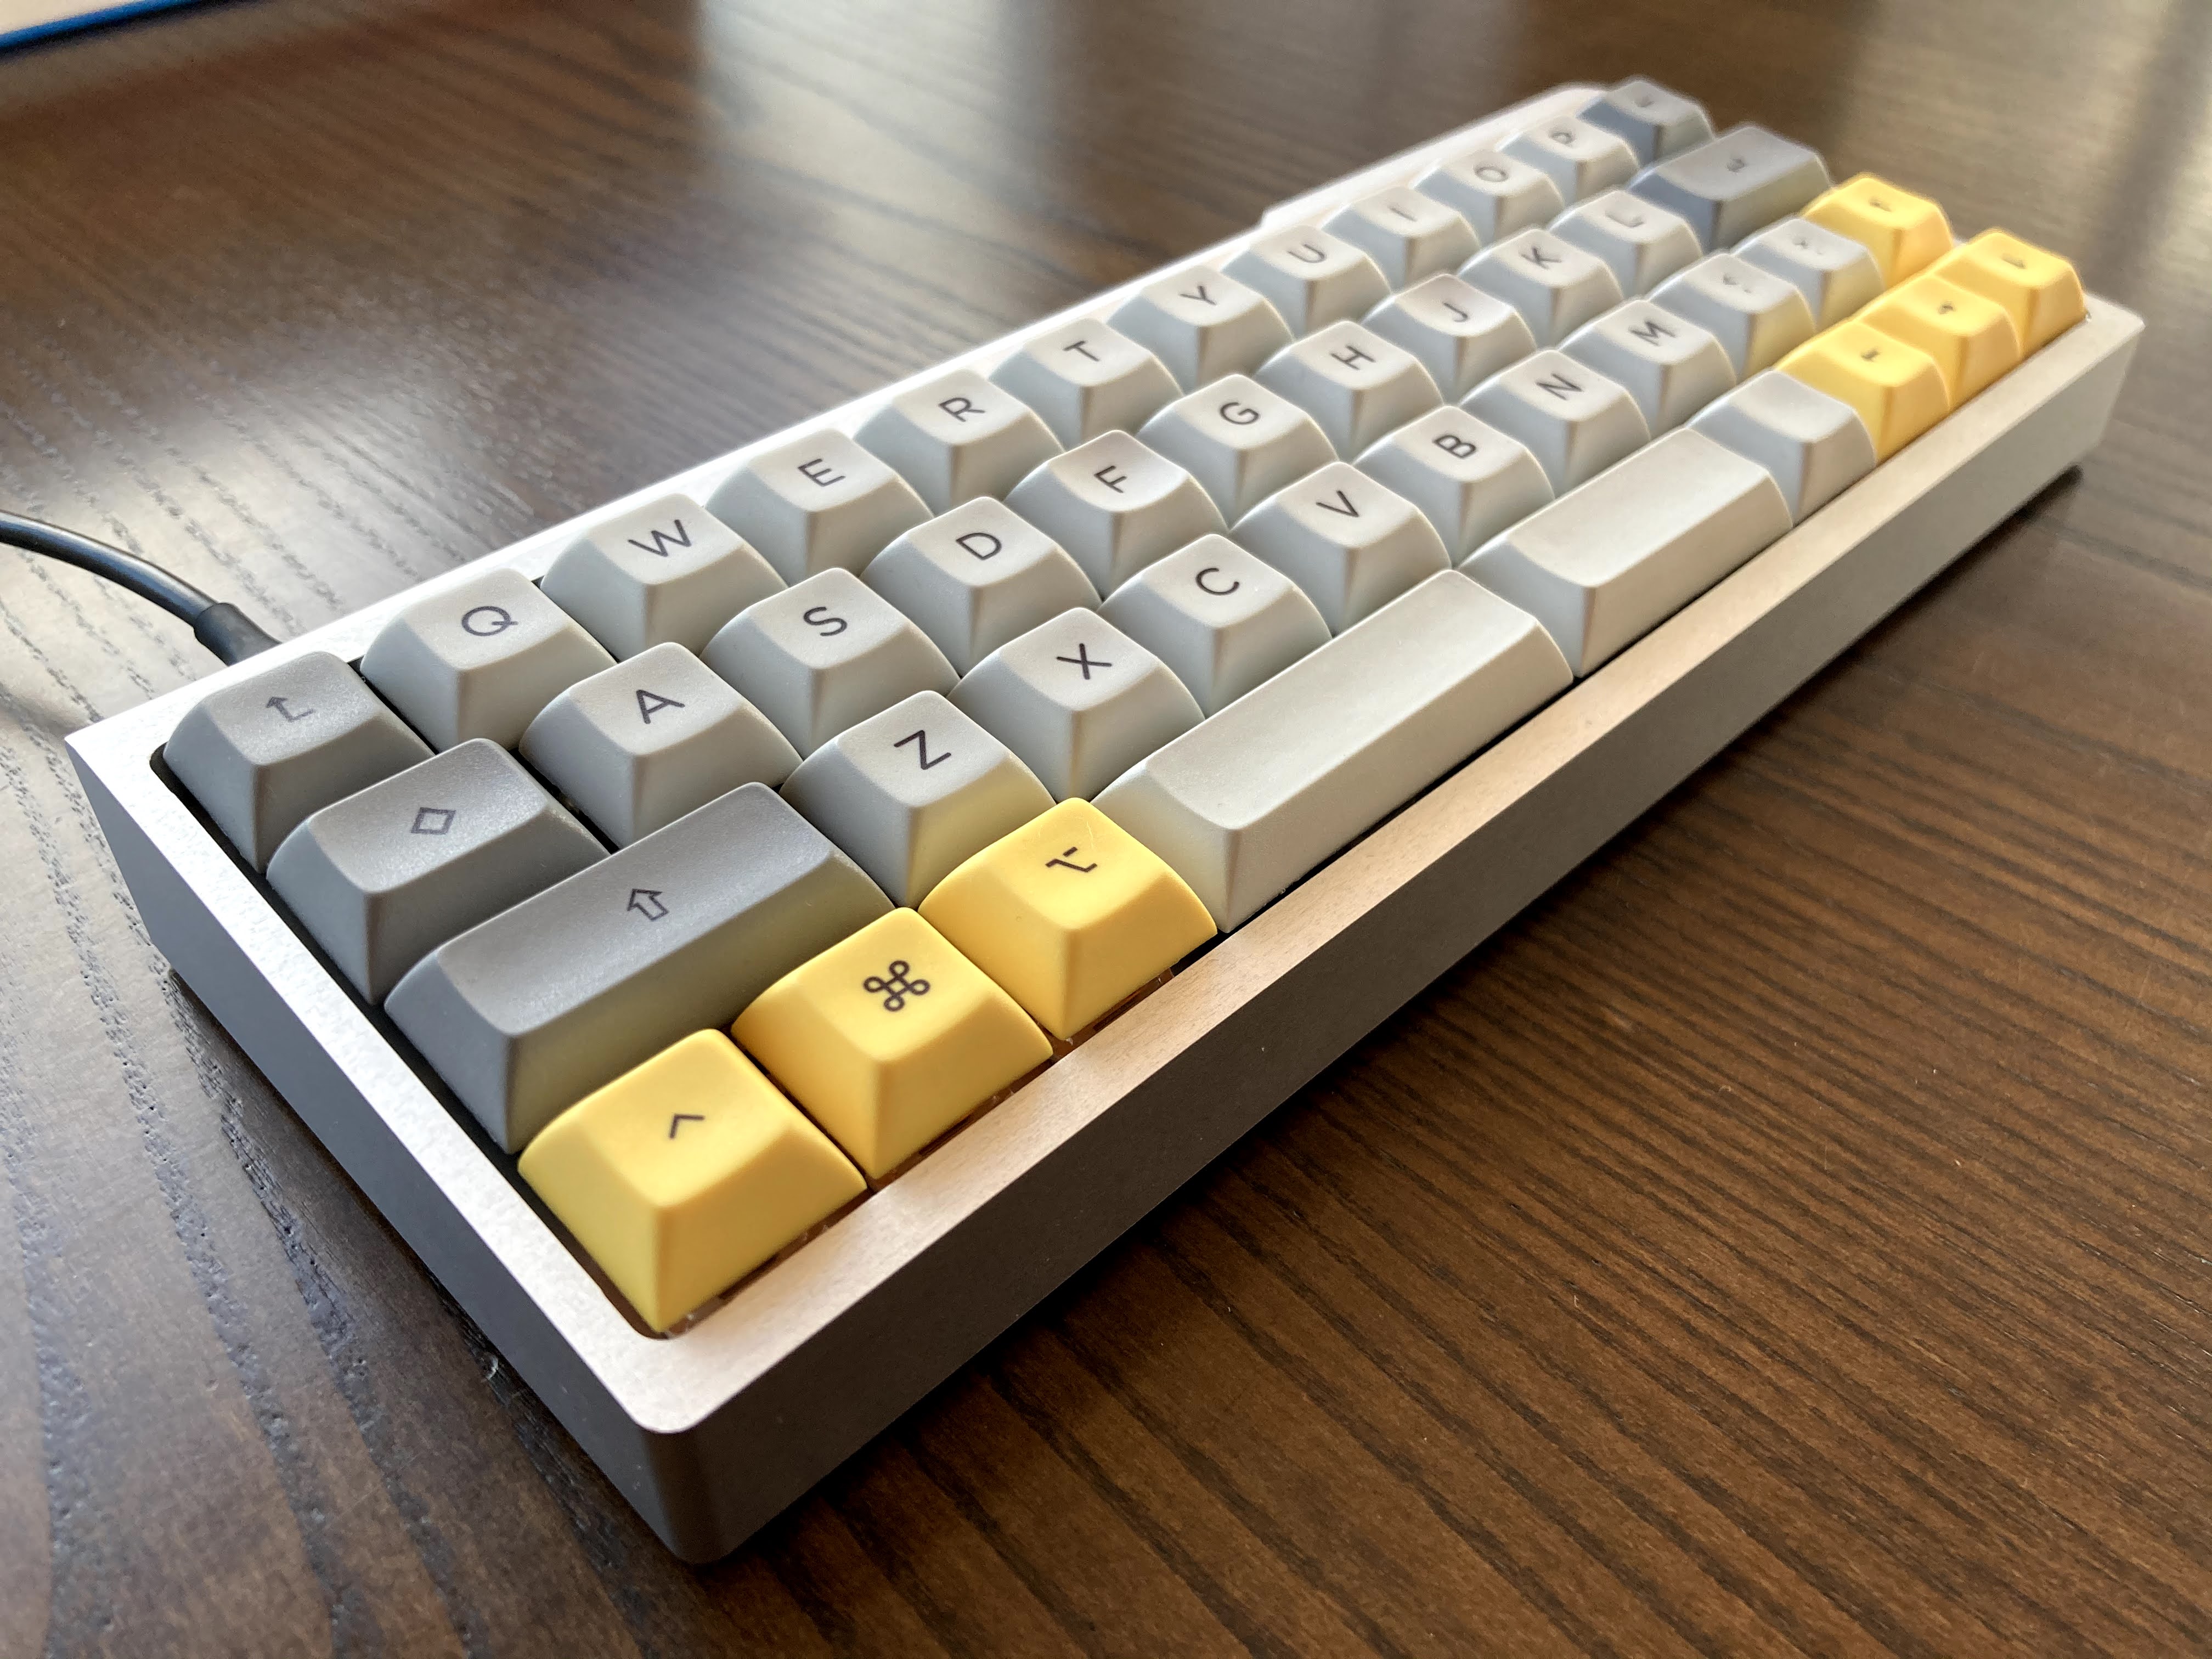
Initial thoughts
This keyboard is small: forget about a number pad and a function row, this thing doesn’t even have an apostrophe! With only 43 keys, it will absolutely take work to become even normally productive - like, what key combination do I have to hit to end this sentence with a question mark?
The good news is that the keyboard is programmable, so I’ll be able to add layers and shortcuts to customize things in whatever way I can imagine. I’ve loved customizing my other keyboard, so I’m not too concerned. (Update! I have written about my keymap.)
I’m excited to begin, because there’s a hard-to-describe sense of never having to “go anywhere” that I get when I type on this keyboard - you don’t have to leave the home row because there’s simply nowhere else to go.
And what could be more appropriate for 2020 than that?